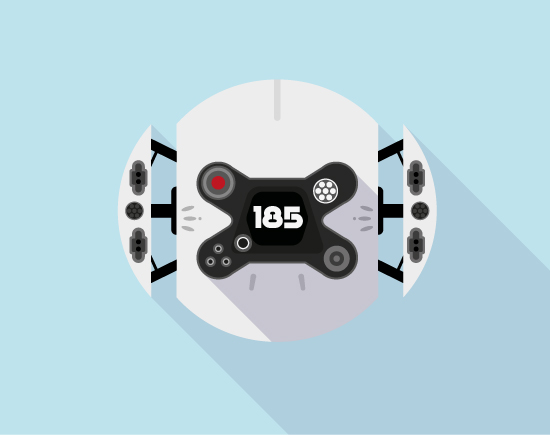
Hello! In today’s tutorial, we will draw Oblivion Drone in Adobe Illustrator. Flat style and long shadows are very dramatic. Have you watched the movie Oblivion by the way?
You can find all Ai tutorials from my blog here → Adobe Illustrator tutorials
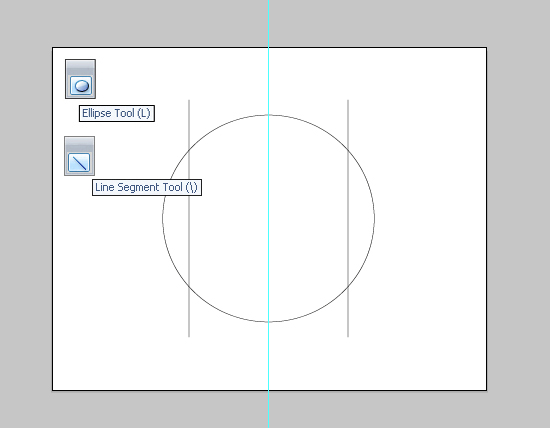
Take the Ellipse Tool(L) and draw the circle. Then draw three vertical lines by the Line Segment Tool (\). Select middle line and turn it to the Guide. Go to the menu View > Guides > Make Guides (Ctrl+5).
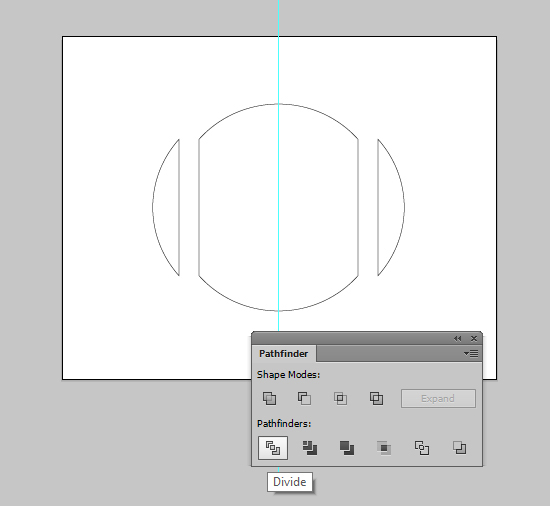
Select the circle and vertical lateral lines and use the Divide function of the Pathfinder panel to cut the circle. Ungroup all and move pieces a little bit.
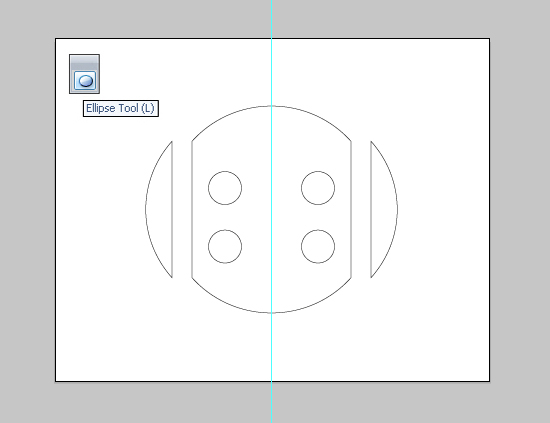
Add four circles to your drone. Use the Reflect Tool(O) and the middle Guide to reflect some circles.
Use the Line Segment Tool (\) to draw the cross. You can turn on the Smart Guides (Ctrl+U) for convenience.
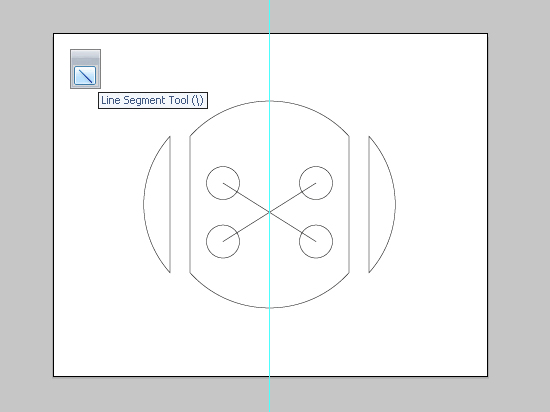
Increase the Weight of the stroke in these lines.
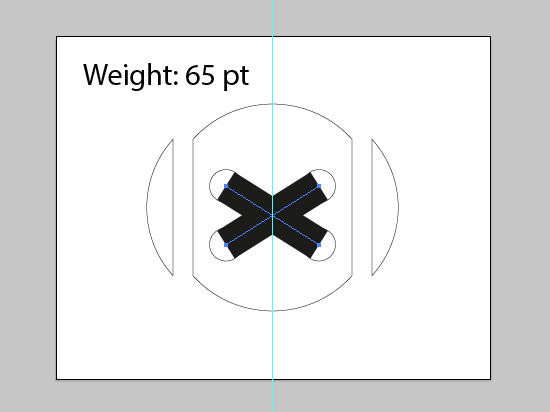
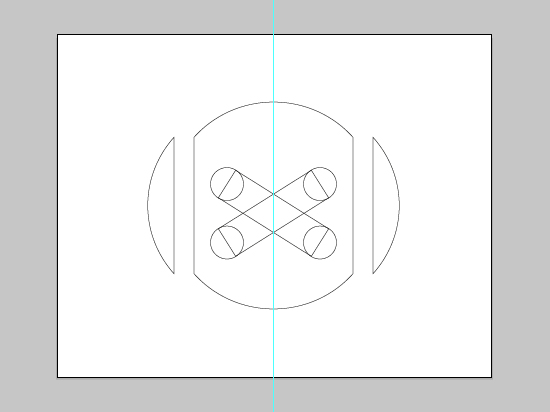
Next go Object > Expand and use Shift+X to swap fill and stroke.
Now draw the rectangle by the Rectangle Tool (M).
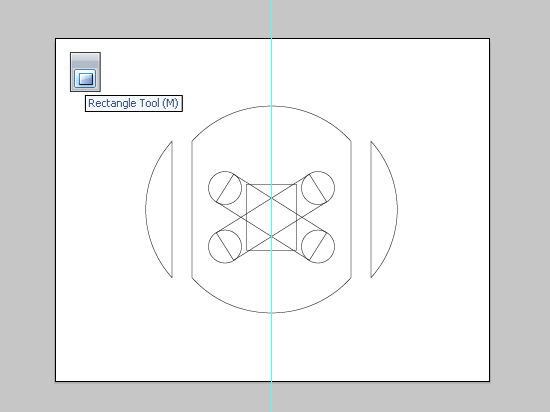
Select shapes in the center and click Unite in the Pathfinder panel.
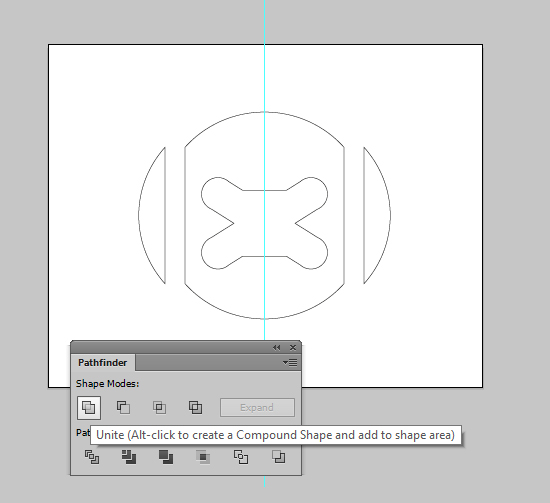
Next you should make round corners. You can use Live Corner widgets or Round Any Corners script.

The devil's always in the details :)
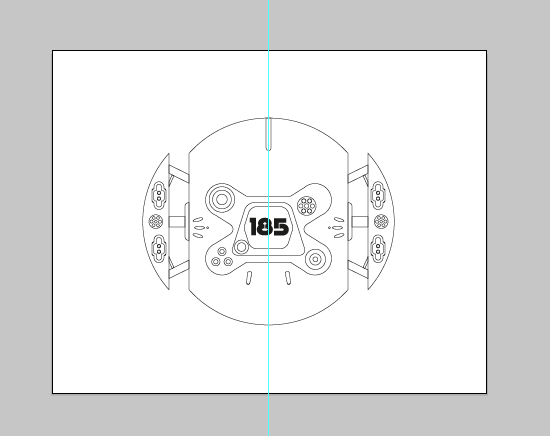
Use the basic shapes. Some parts can be combined. Try the Shape Builder Tool (Shift+M) or the Pathfinder panel.
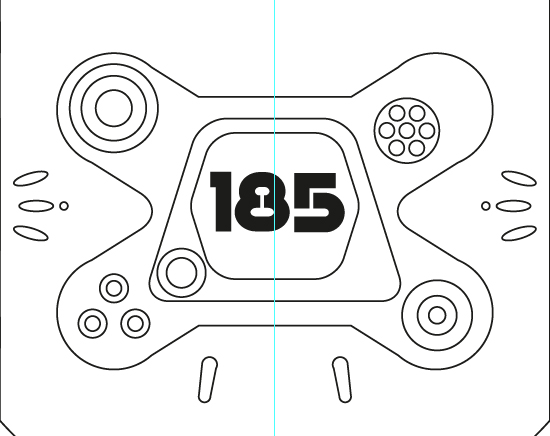
You can reflect some parts by the Reflect Tool (O).
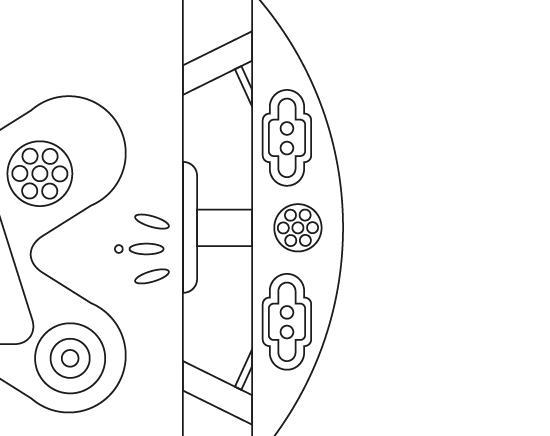
Now is the time to add color to the illustration. The background is better placed on a separate layer.
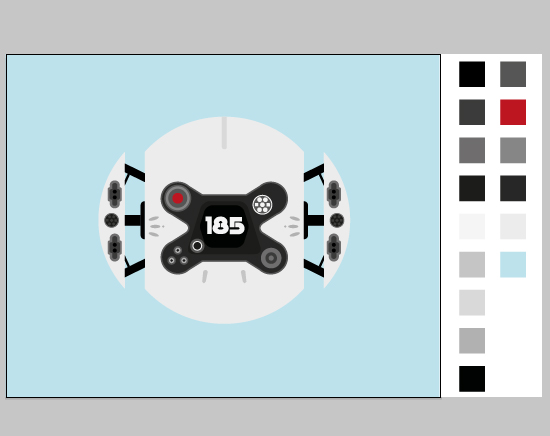
Take the Line Segment Tool or the Pen Tool(P). I used both tools. Your task is to make the shape as in the picture.
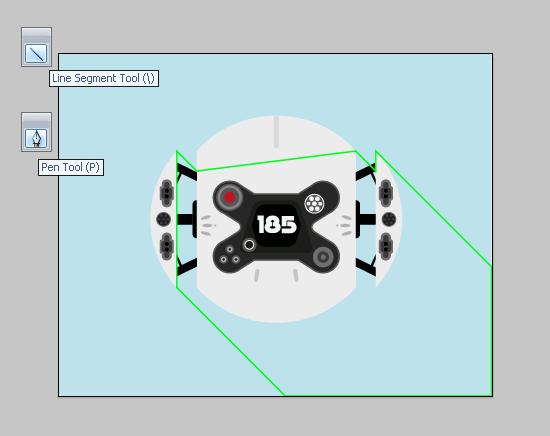
Send it to back Shift+Ctrl+[. Use dark blue color for the Fill and 10% Opacity.
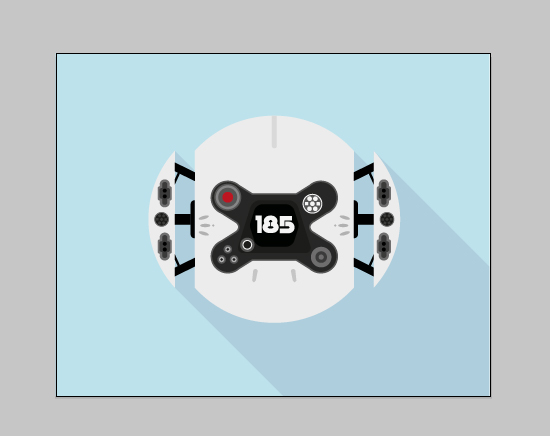
Draw a shadow on the robot's body using the same technique.
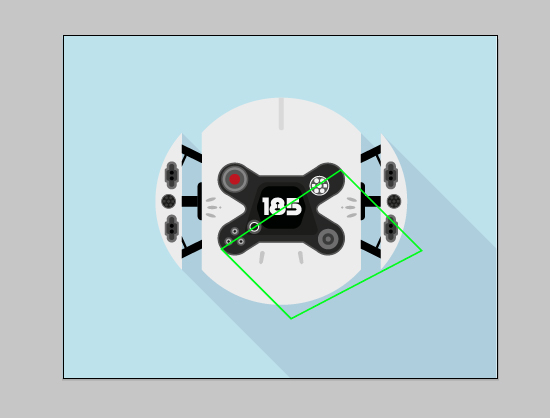
Use the Shape Builder Tool(Shift+M) to delete redundant parts.
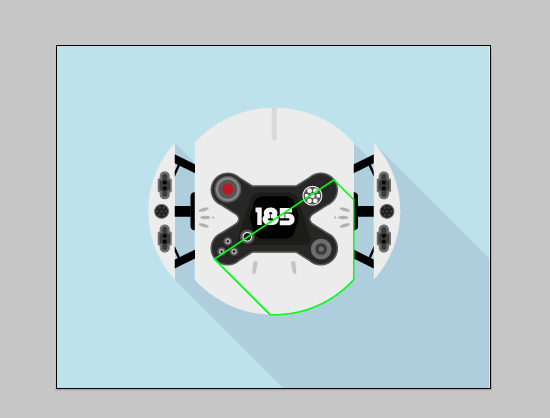
Move the shadow under the robot's face.

Sinister drone ready for the battle :)

If you like this article, please leave a comment here or share! You may also thank me using referral links → CLICK HERE
You can find all Ai tutorials from my blog here → Adobe Illustrator tutorials

Create the body of the drone
Take the Ellipse Tool(L) and draw the circle. Then draw three vertical lines by the Line Segment Tool (\). Select middle line and turn it to the Guide. Go to the menu View > Guides > Make Guides (Ctrl+5).

Select the circle and vertical lateral lines and use the Divide function of the Pathfinder panel to cut the circle. Ungroup all and move pieces a little bit.

Add four circles to your drone. Use the Reflect Tool(O) and the middle Guide to reflect some circles.

Use the Line Segment Tool (\) to draw the cross. You can turn on the Smart Guides (Ctrl+U) for convenience.

Increase the Weight of the stroke in these lines.

Next go Object > Expand and use Shift+X to swap fill and stroke.

Now draw the rectangle by the Rectangle Tool (M).

Select shapes in the center and click Unite in the Pathfinder panel.

Next you should make round corners. You can use Live Corner widgets or Round Any Corners script.

Details
The devil's always in the details :)

Use the basic shapes. Some parts can be combined. Try the Shape Builder Tool (Shift+M) or the Pathfinder panel.

You can reflect some parts by the Reflect Tool (O).

Working with color
Now is the time to add color to the illustration. The background is better placed on a separate layer.

Long shadow
Take the Line Segment Tool or the Pen Tool(P). I used both tools. Your task is to make the shape as in the picture.

Send it to back Shift+Ctrl+[. Use dark blue color for the Fill and 10% Opacity.

Draw a shadow on the robot's body using the same technique.

Use the Shape Builder Tool(Shift+M) to delete redundant parts.

Move the shadow under the robot's face.

Sinister drone ready for the battle :)

If you like this article, please leave a comment here or share! You may also thank me using referral links → CLICK HERE
Thanks for sharing your thoughts on visit
ReplyDeletethis. Regards
I always emailed this weblog post page to all my friends, since if like to read it then my friends will too.
ReplyDelete