In today’s tutorial you will learn how to create a retro vinyl record with the help of the conical gradient. We will use the Apply gradient along stroke function for this.
You can find all Illustrator tutorials from this blog using this link → CLICK HERE

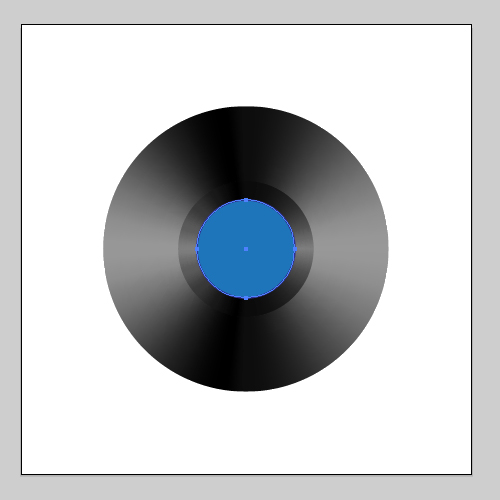
First of all we should create two circles. Use the Ellipse Tool (L). Turn off the Fill.
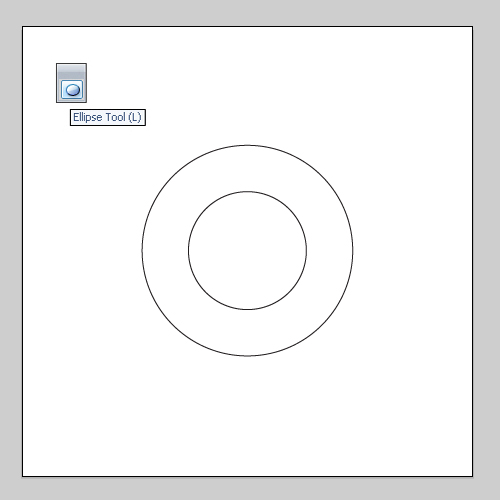
Then increase the stroke width of these circles as in the picture below.
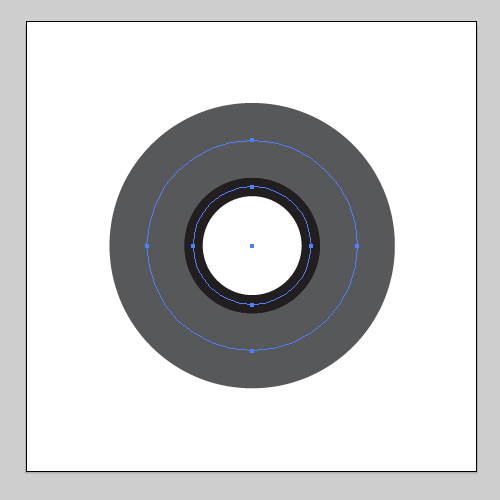
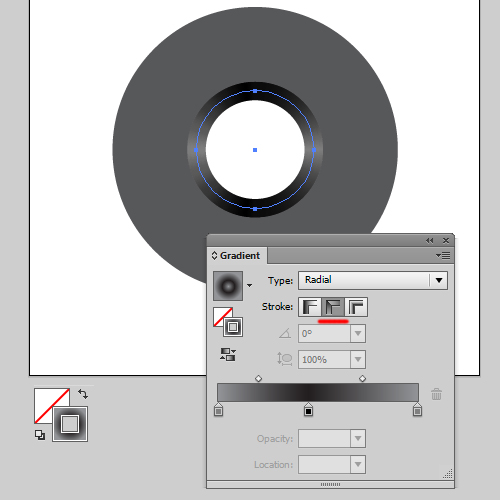
Select the inner circle. Move the Fill to the top position in the Fill panel. Then apply the Radial Gradient (Ctrl+F9) to the stroke. You need to enable the Apply gradient along stroke option.
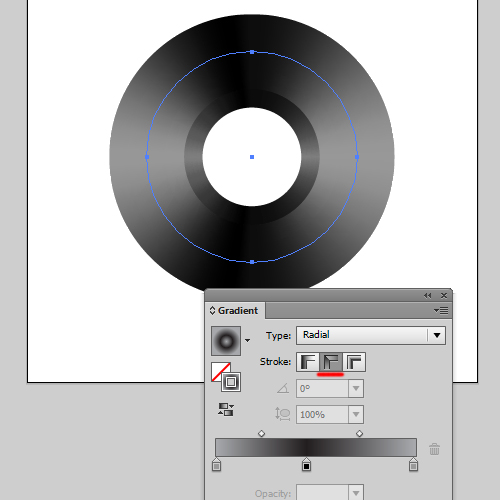
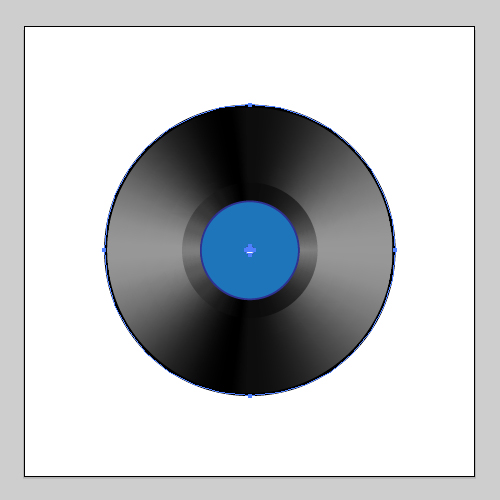
Do the same for the second circle. Change gradient colors slightly.
Then make the central part of the vinyl. Draw another circle.
The hole on the vinyl is also a circle. And one more black circle in the background.
Now draw two circles with a white stroke - 0,25 pt Weight.
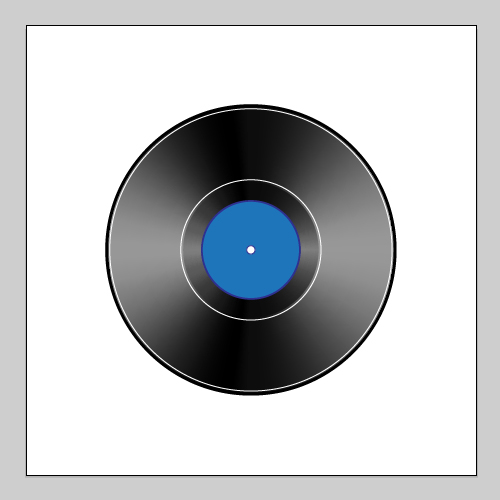
Select circles and go to the menu Object > Blend > Make. Then go Object > Blend > Blend Options and set Specified Distance = 4 px. Finally open the Transparency panel and set Opacity 30%.
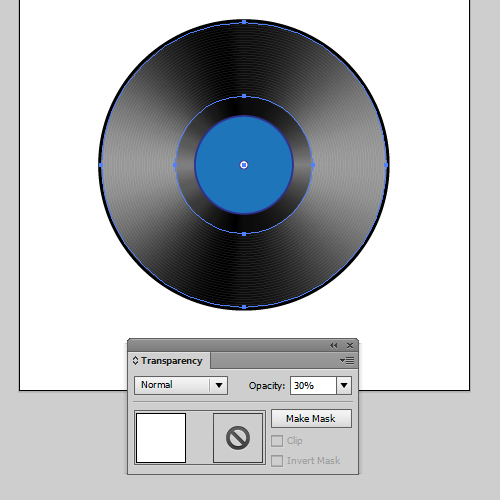
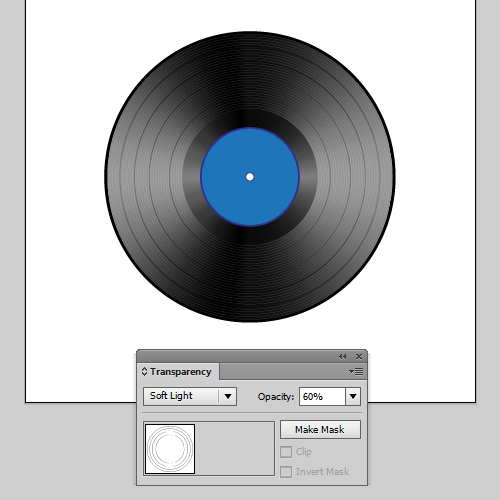
Next draw some more circles with a white stroke.
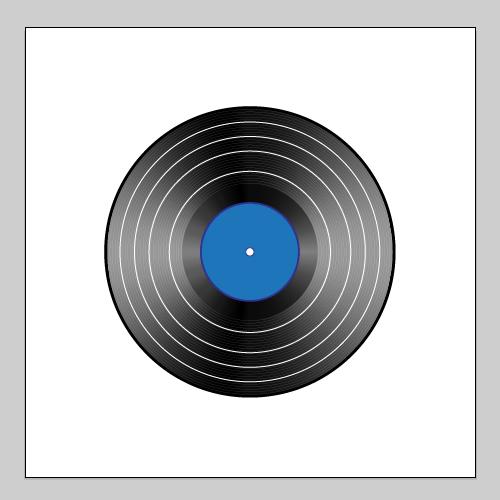
Go to the Transparency panel and set Soft Light Blending Mode and Opacity 60%. Change the stroke color to black.
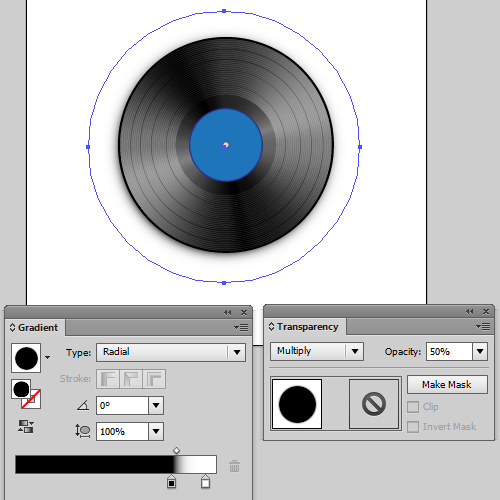
Now you can make a shadow. Draw a circle and Send to Back (Shift+Ctrl+[ ). Use black-and-white Radial Gradient Fill and Multiply Blending Mode.
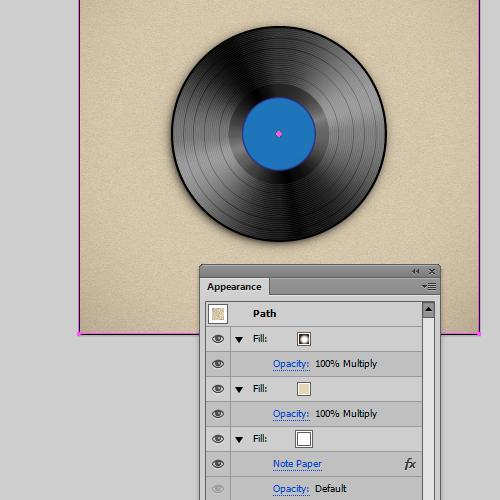
Take the Rectangle Tool (M) and draw the square for the background. Go to the Appearance panel and create three fills by the Add New Fill function. Use Effect > Sketch > Note Paper for the first fill. Use beige color and Multiply blending mode for the second fill. And use black-and-white Radial Gradient and Multiply blending mode for the third fill.
Finally you can add any text to the vinyl. Let's go party now :)
If you like this article, please leave a comment here or share! You may also thank me using referral links → CLICK HERE
You can find all Illustrator tutorials from this blog using this link → CLICK HERE
First of all we should create two circles. Use the Ellipse Tool (L). Turn off the Fill.
Then increase the stroke width of these circles as in the picture below.
Select the inner circle. Move the Fill to the top position in the Fill panel. Then apply the Radial Gradient (Ctrl+F9) to the stroke. You need to enable the Apply gradient along stroke option.
Do the same for the second circle. Change gradient colors slightly.
Then make the central part of the vinyl. Draw another circle.
The hole on the vinyl is also a circle. And one more black circle in the background.
Now draw two circles with a white stroke - 0,25 pt Weight.
Select circles and go to the menu Object > Blend > Make. Then go Object > Blend > Blend Options and set Specified Distance = 4 px. Finally open the Transparency panel and set Opacity 30%.
Next draw some more circles with a white stroke.
Go to the Transparency panel and set Soft Light Blending Mode and Opacity 60%. Change the stroke color to black.
Now you can make a shadow. Draw a circle and Send to Back (Shift+Ctrl+[ ). Use black-and-white Radial Gradient Fill and Multiply Blending Mode.
Take the Rectangle Tool (M) and draw the square for the background. Go to the Appearance panel and create three fills by the Add New Fill function. Use Effect > Sketch > Note Paper for the first fill. Use beige color and Multiply blending mode for the second fill. And use black-and-white Radial Gradient and Multiply blending mode for the third fill.
Finally you can add any text to the vinyl. Let's go party now :)
If you like this article, please leave a comment here or share! You may also thank me using referral links → CLICK HERE
I have recently started a blog, the info you provide on this site has helped me greatly. Thanks for all of your time & work. How to make a Coffee Cup in Adobe Illustrator
ReplyDelete