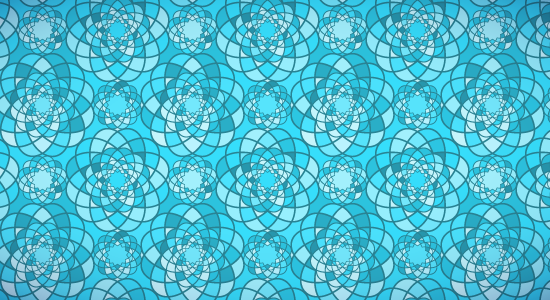
In today’s tutorial, you’ll learn how to create a seamless pattern in Adobe Illustrator. You can use such seamless texture as a fill in your design.
You can see all Illustrator tutorials from my blog here → Ai tutorials
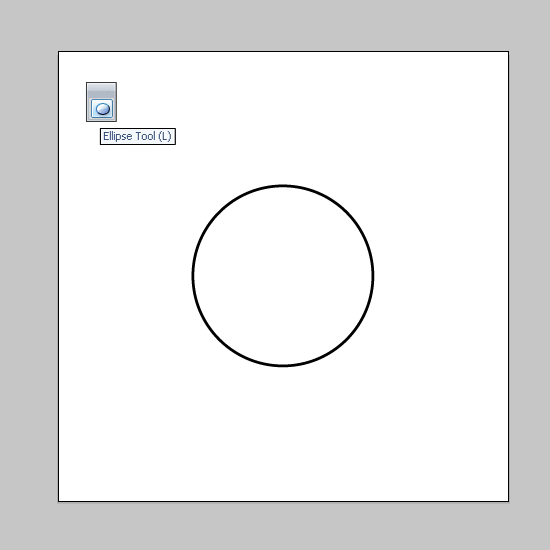
Create new document Ctrl+N with dimensions 500x500 px. Take the Ellipse Tool (L) and draw the circle. Turn off the Fill.
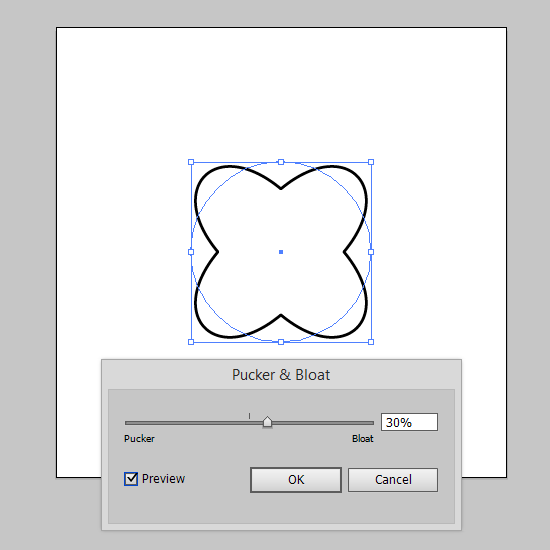
Then go to menu Effect > Distort & Transform > Pucker & Bloat. Set Bloat 30%.
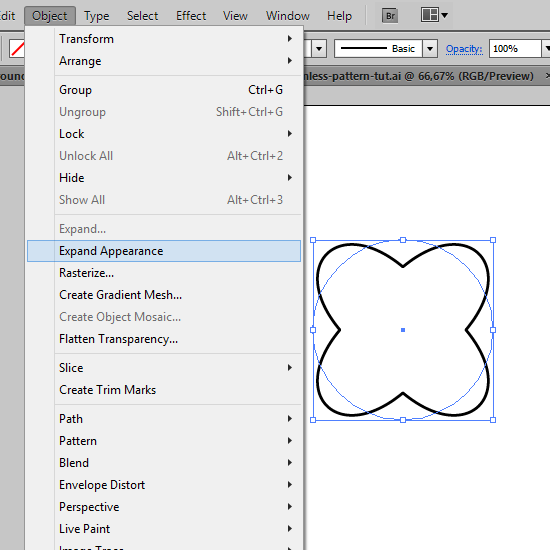
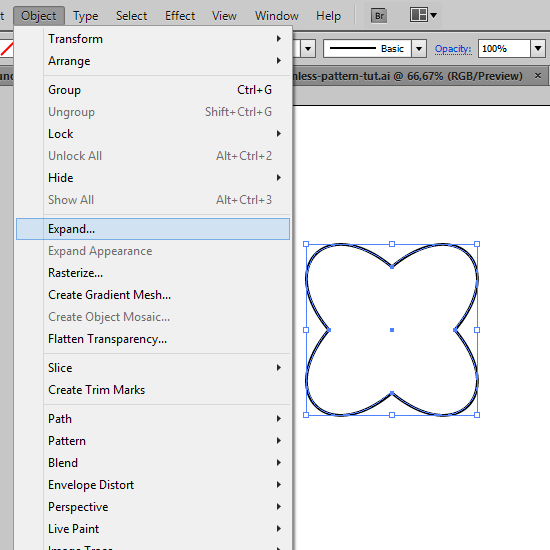
Next go to the Object > Expand Appearance.
And again Object > Expand.
Now right click to the figure and Transform > Rotate.
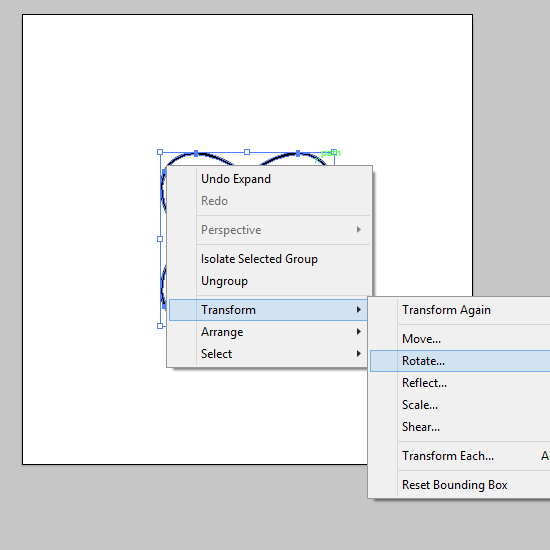
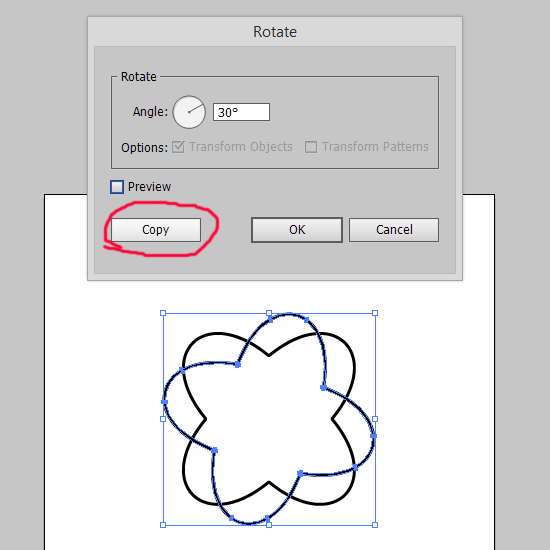
Set 30 degrees and click the Copy button.
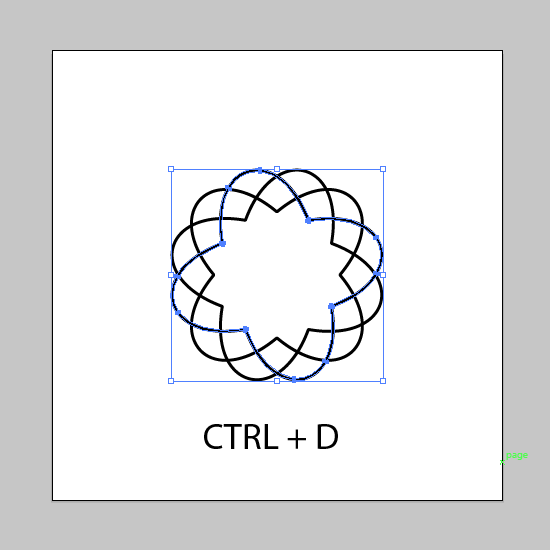
Press Ctrl+D hotkeys to repeat rotation.
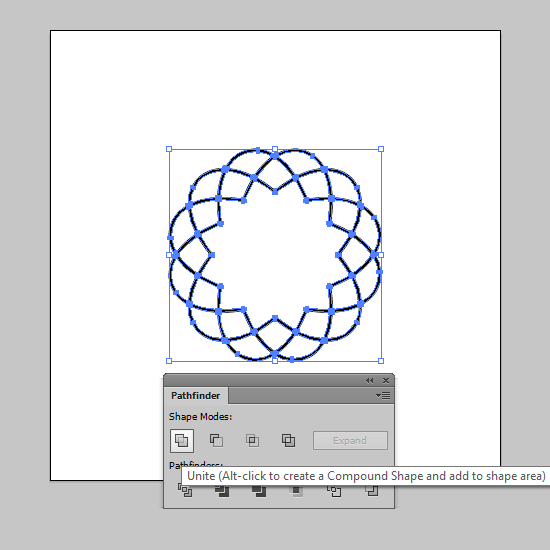
Select all Ctrl+A and click the Unite button in the PathFinder panel.
Copy the original ornament Ctrl+C and paste it to the same place Ctrl+F. Then reduce the size.
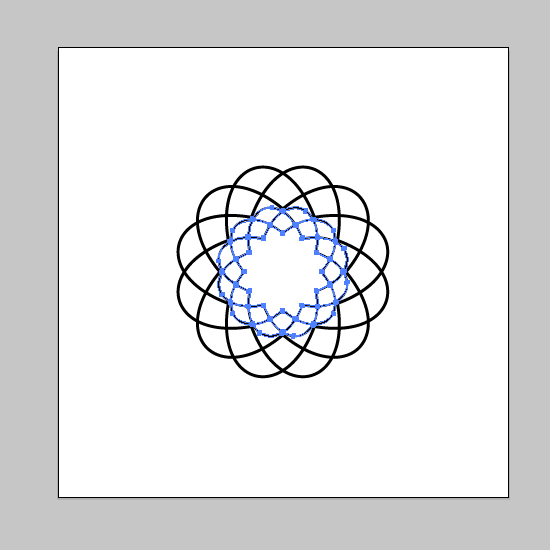
Use copy and paste to create different ornaments.

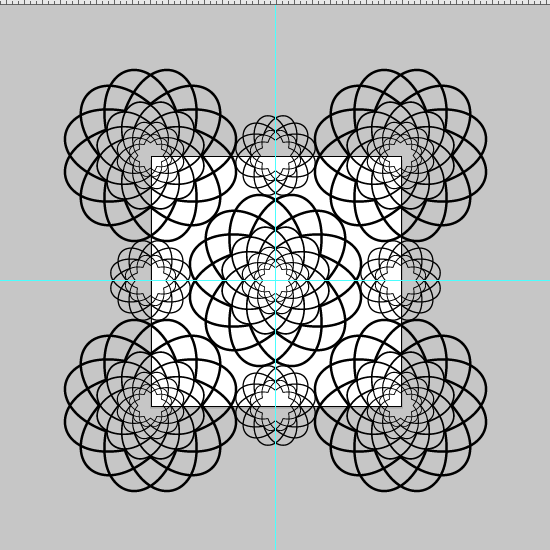
Now you can create the seamless pattern by the Magic Pattern Pro Illustrator script
You can use the menu Object > Pattern > Make also.
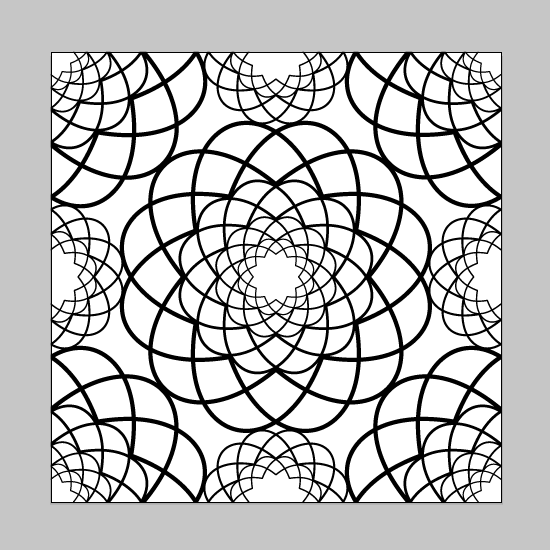
If you need to trim the protruding parts use the Super Magic Eraser Illustrator script. Also you can use the clipping mask Ctrl+7.
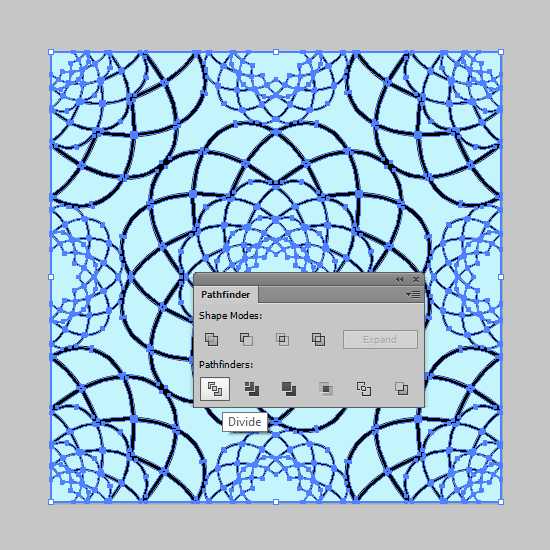
Draw the rectangle 500x500 px and send it to back.
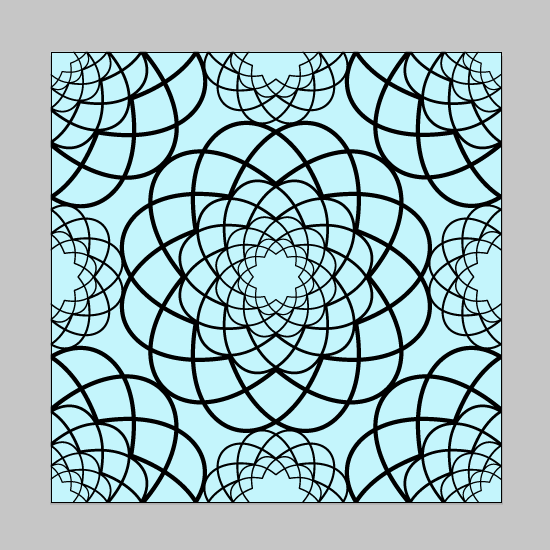
Select all Ctrl+A and click the Divide button in the PathFinder panel. Don't forget to ungroup the result.
Now use the Vary Hues Illustrator script to randomize colors.
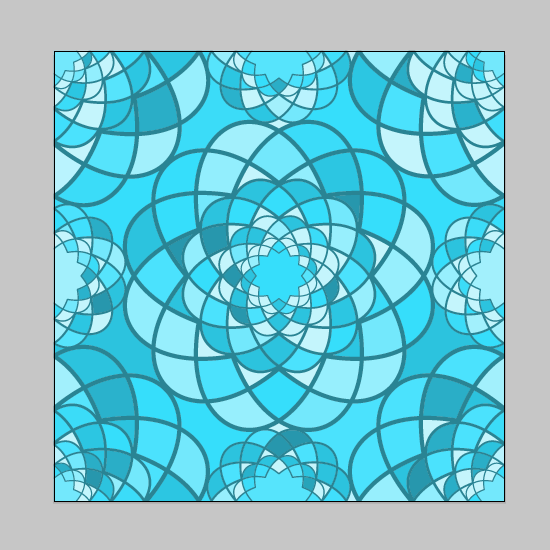
As a result we got the source of the seamless texture on the artboard.
Select all Ctrl+A and drag and drop it to the Swatches panel. Now you have the New Pattern Swatch. Draw any shape and fill by this texture.
If you like this article, please leave a comment here or share! You may also thank me using referral links → CLICK HERE
You can see all Illustrator tutorials from my blog here → Ai tutorials
Create an ornament
Create new document Ctrl+N with dimensions 500x500 px. Take the Ellipse Tool (L) and draw the circle. Turn off the Fill.
Then go to menu Effect > Distort & Transform > Pucker & Bloat. Set Bloat 30%.
Next go to the Object > Expand Appearance.
And again Object > Expand.
Now right click to the figure and Transform > Rotate.
Set 30 degrees and click the Copy button.
Press Ctrl+D hotkeys to repeat rotation.
Select all Ctrl+A and click the Unite button in the PathFinder panel.
Create seamless pattern
Copy the original ornament Ctrl+C and paste it to the same place Ctrl+F. Then reduce the size.
Use copy and paste to create different ornaments.
Now you can create the seamless pattern by the Magic Pattern Pro Illustrator script
You can use the menu Object > Pattern > Make also.
If you need to trim the protruding parts use the Super Magic Eraser Illustrator script. Also you can use the clipping mask Ctrl+7.
Working with colors
Draw the rectangle 500x500 px and send it to back.
Select all Ctrl+A and click the Divide button in the PathFinder panel. Don't forget to ungroup the result.
Now use the Vary Hues Illustrator script to randomize colors.
As a result we got the source of the seamless texture on the artboard.
Select all Ctrl+A and drag and drop it to the Swatches panel. Now you have the New Pattern Swatch. Draw any shape and fill by this texture.
If you like this article, please leave a comment here or share! You may also thank me using referral links → CLICK HERE
Comments
Post a Comment