In this Illustrator tutorial we will learn how to create a vector portrait in Pop Art style. We will use the Appearance panel and Halftone Swatch Library. To perform this tutorial, you can use any photo or sketch, so why not make a self-portrait in the Pop Art style? Let's get started!
You can see all Illustrator tutorials from my blog by the link → CLICK HERE
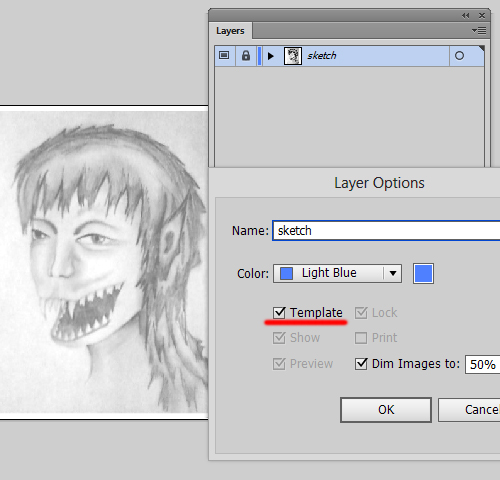
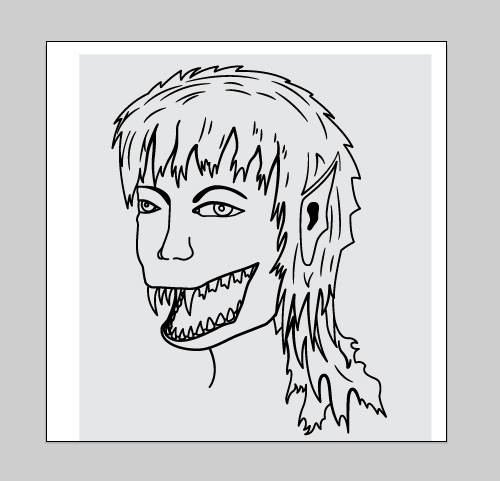
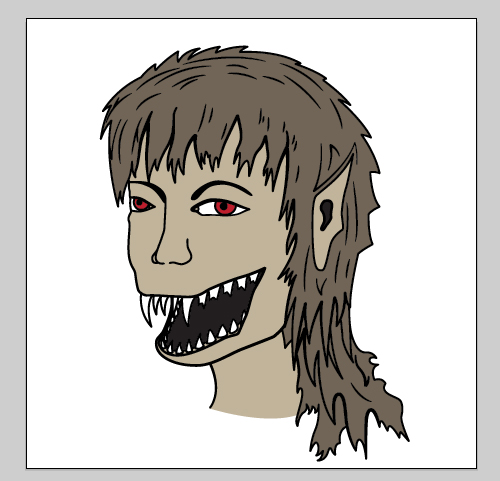
I took the image of the werewolf as you can see. First of all you should drag and drop you sketch or photo to the Illustrator. Make the layer a template. Create a new layer for drawing.
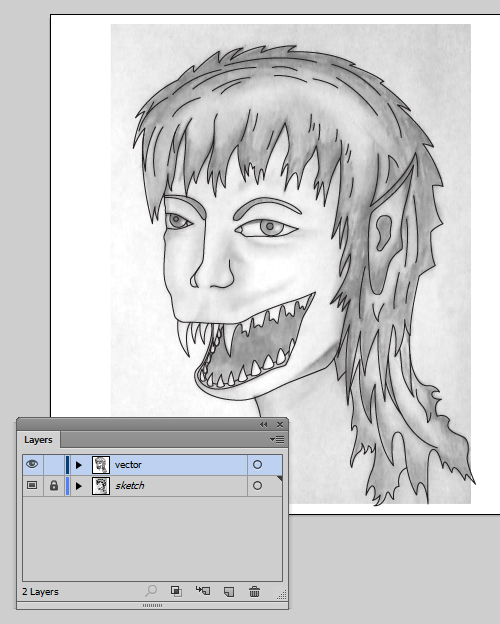
Take the Pen Tool (P) and draw the picture using the template. You can draw by Pencil Tool (N) or Paintbrush Tool if you have graphic tablet.
Next delete the Template layer. We do not need it anymore.
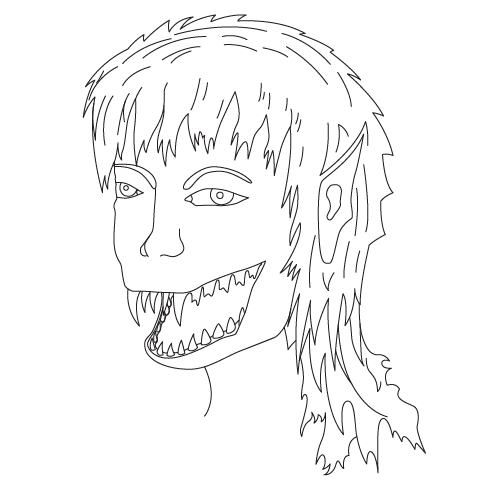
You can make different thickness of the lines using the Width Tool (Shift+W) or Art Brushes.

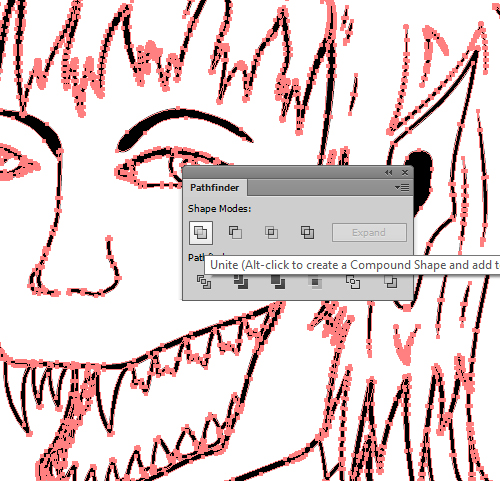
Select all Ctrl+A and go to the menu Object > Expand Appearance (Expand). You should expand all paths to the simple shapes. Then click Unite (Add) button in the PathFinder panel.
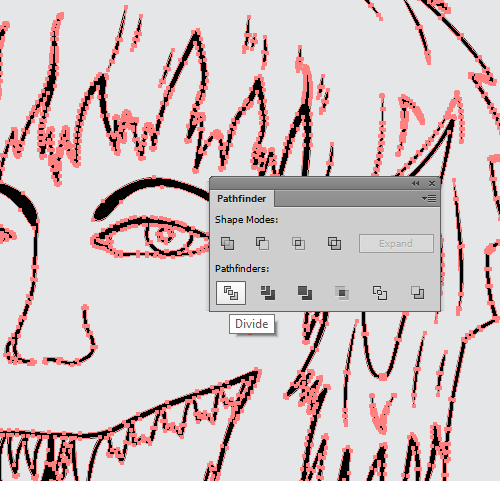
Take the Rectangle Tool (M) and draw the rectangle. Send it back Shift+Ctrl+[ .
Select all again Ctrl+A and click Divide button in the PathFinder panel.
Ungroup all Shift+Ctrl+G and delete excess parts.
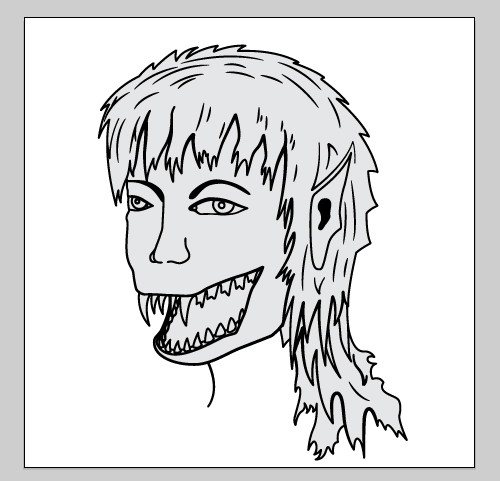
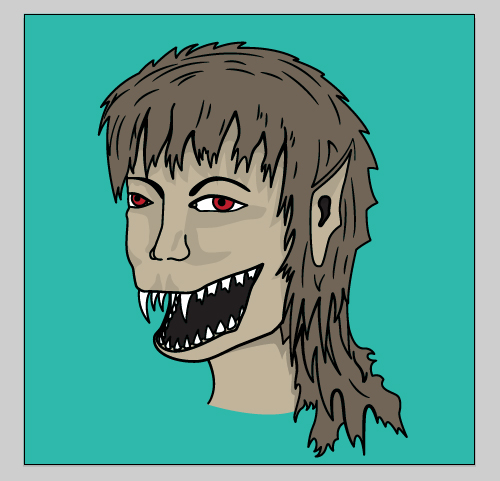
Now you can color all grey shapes inside the image. A piece for the neck needs to be finished by Pen Tool (P).
Almost done. You can add shadows now. Create new layer and draw several black shapes for the shadows.
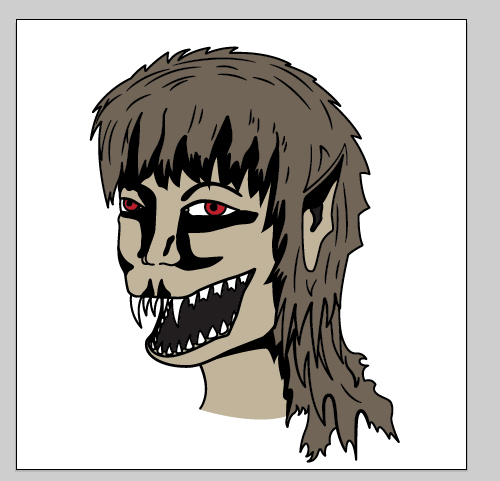
Select all shadows and go to the Transparency panel. Set 20% Opacity.

Take the Rectangle Tool (M) and draw the square for the background. It will be great to create separate layer for it.
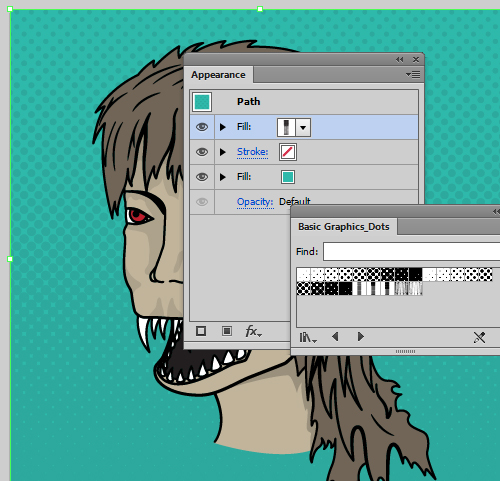
Select the background and go to the Appearance panel. Click the Add New Fill in the menu of the panel.
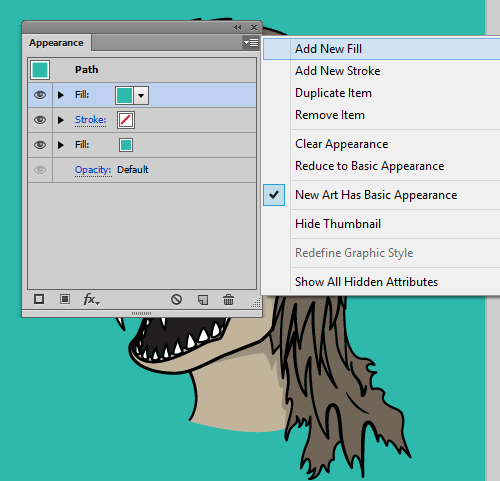
Select this fill in the Appearance panel and go to the Window > Swatch Libraries > Patterns > Basic Graphics > Basic Graphics_Dots. Select any pattern in the library. Finally you should to adjust the transparency for this texturary fill.
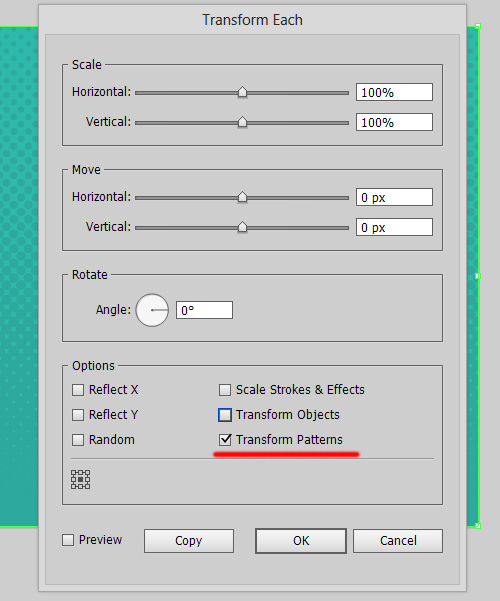
You can modify this texturary fill also. Go to the Transform > Transform Each (Alt+Shift+Ctrl+D). Set the Transform Patterns flag and remove the Transform Objects. Now you can rotate or resize the texture.
You can add a dots texture to any objects in the illustration the same way.
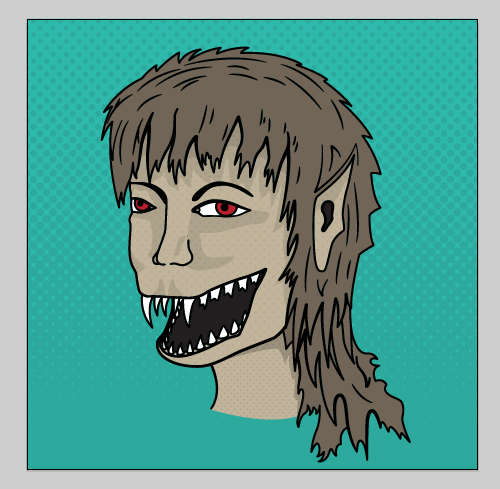
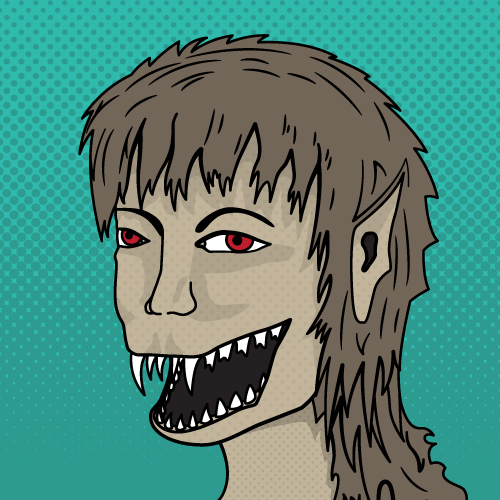
Werewolf is very scary. The Pop Art portrait is ready.
I hope you have enjoyed this tutorial. If you like this article, please leave a comment here or share! You may also thank me using referral links → CLICK HERE
You can see all Illustrator tutorials from my blog by the link → CLICK HERE
I took the image of the werewolf as you can see. First of all you should drag and drop you sketch or photo to the Illustrator. Make the layer a template. Create a new layer for drawing.
Take the Pen Tool (P) and draw the picture using the template. You can draw by Pencil Tool (N) or Paintbrush Tool if you have graphic tablet.
Next delete the Template layer. We do not need it anymore.
You can make different thickness of the lines using the Width Tool (Shift+W) or Art Brushes.
Select all Ctrl+A and go to the menu Object > Expand Appearance (Expand). You should expand all paths to the simple shapes. Then click Unite (Add) button in the PathFinder panel.
Take the Rectangle Tool (M) and draw the rectangle. Send it back Shift+Ctrl+[ .
Select all again Ctrl+A and click Divide button in the PathFinder panel.
Ungroup all Shift+Ctrl+G and delete excess parts.
Now you can color all grey shapes inside the image. A piece for the neck needs to be finished by Pen Tool (P).
Almost done. You can add shadows now. Create new layer and draw several black shapes for the shadows.
Select all shadows and go to the Transparency panel. Set 20% Opacity.
Take the Rectangle Tool (M) and draw the square for the background. It will be great to create separate layer for it.
Select the background and go to the Appearance panel. Click the Add New Fill in the menu of the panel.
Select this fill in the Appearance panel and go to the Window > Swatch Libraries > Patterns > Basic Graphics > Basic Graphics_Dots. Select any pattern in the library. Finally you should to adjust the transparency for this texturary fill.
You can modify this texturary fill also. Go to the Transform > Transform Each (Alt+Shift+Ctrl+D). Set the Transform Patterns flag and remove the Transform Objects. Now you can rotate or resize the texture.
You can add a dots texture to any objects in the illustration the same way.
Werewolf is very scary. The Pop Art portrait is ready.
I hope you have enjoyed this tutorial. If you like this article, please leave a comment here or share! You may also thank me using referral links → CLICK HERE
Comments
Post a Comment