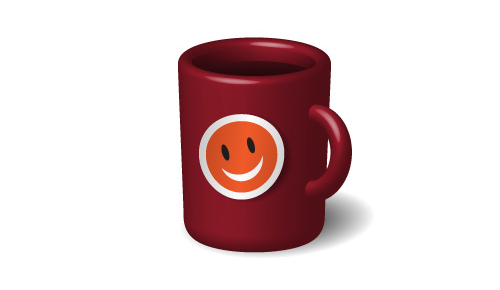
Learn how to draw 3d pictures in this Illustrator tutorial. I will explain how I made this 3D cup with funny smile sticker. This tutorial will cover on how to 3D effects in Adobe Illustrator works. Hope you like it and find it interesting.
You can see all Illustrator tutorials from my blog by the link → CLICK HERE
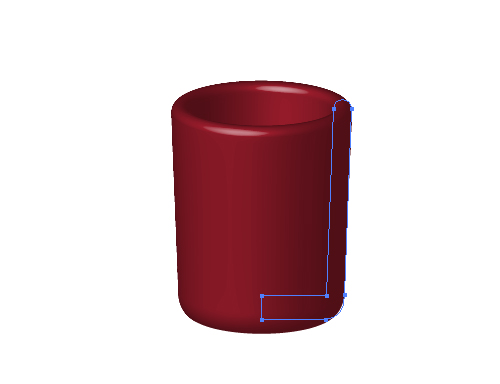
Create new document (Ctrl+N) with dimensions 500x500 px. Color Mode is RGB. Take the Pen Tool (P) and draw the cup profile.
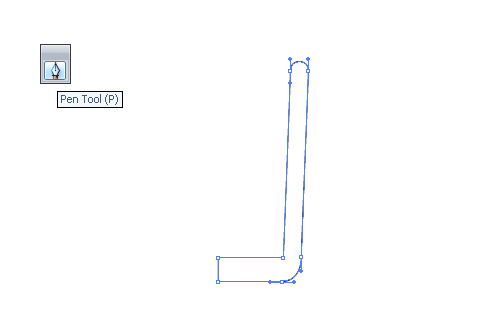
Use any color for Fill.
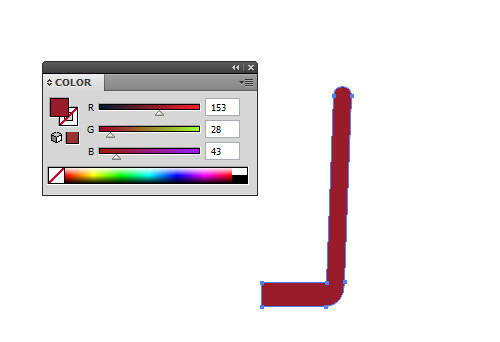
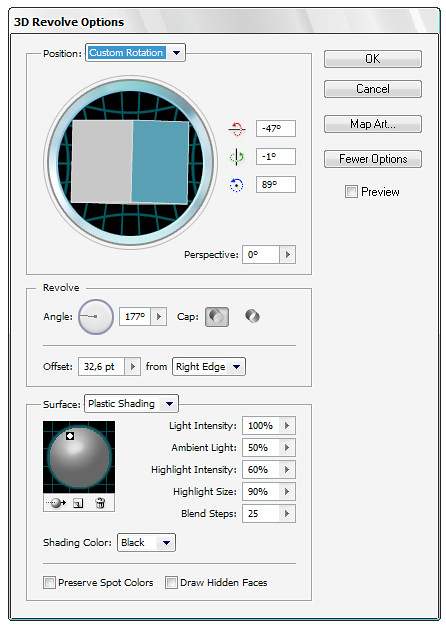
Go to the menu Effect > 3D > Revolve. Set the options as in the image below. If you can't see all settings click More Options in the window.
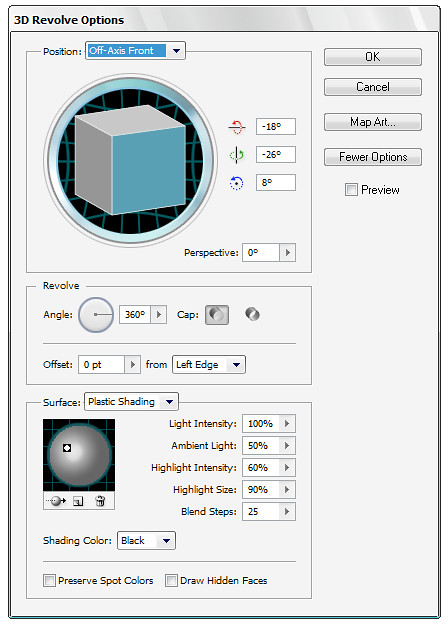
You will get such shape after the effect.
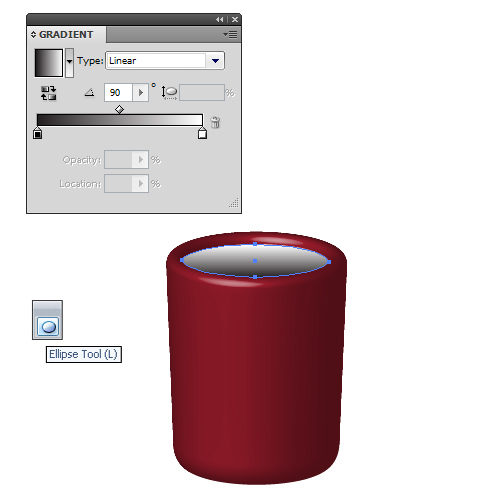
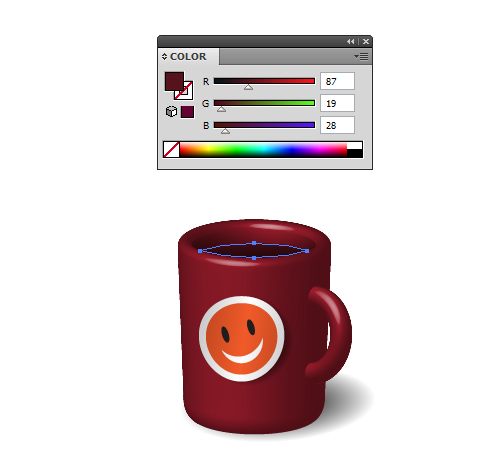
Now we need work with shadow inside the cup. Draw the ellipse with gradient fill.
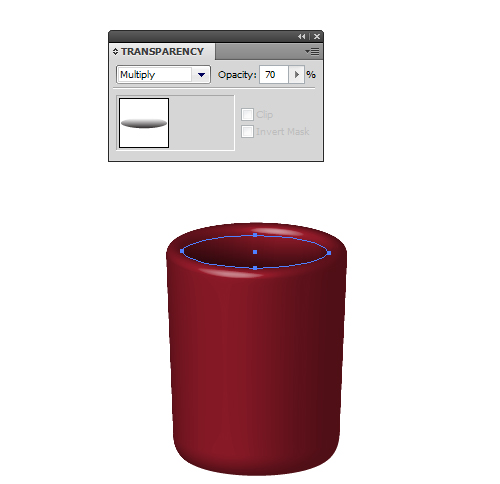
Go to the Transparency panel and set Multiply blending mode. And you can change the Opacity to 70%.
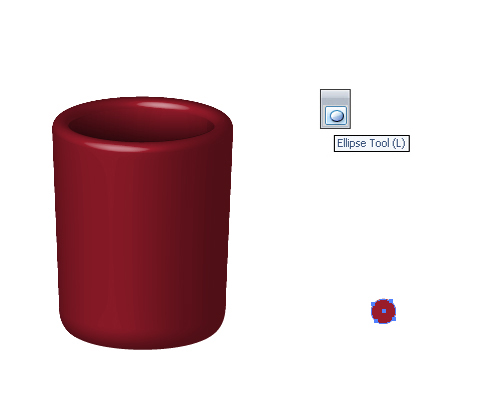
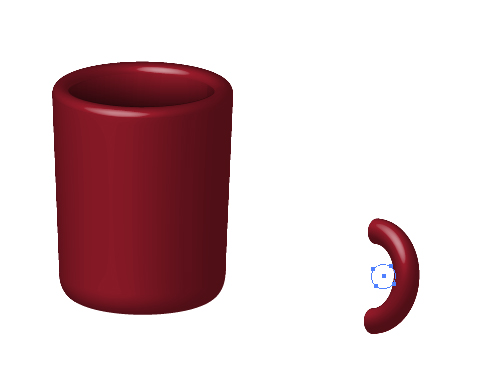
Next draw the handle. We need little circle for it.
Go to the meny Effect > 3D > Revolve. Set the options. Check Preview to see all transformations on the Artboard.
Now the handle is ready.
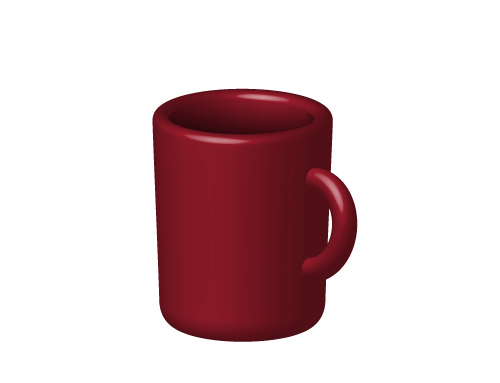
Attach it to the mug.
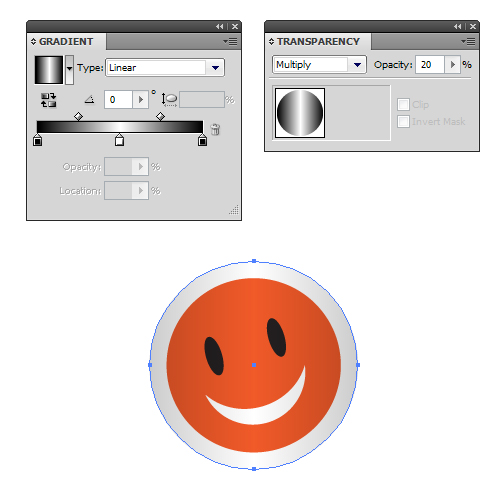
Then you can draw smile sticker using simple shapes.
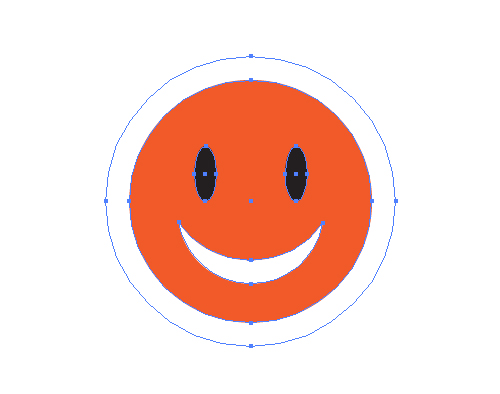
Turn the face of the smiley to the side slightly. Draw another circle with gradient fill above all. Set the Multiply blending mode and Opacity 20%.
Then create next circle with radial gradient fill. Set the Multiply blending mode for this circle and put it in the bottom Shift+Ctrl+[ .

Now we have the shadow under the sticker.

Select the sticker and go to the menu Effect > Warp > Arch. Set Bend value to -10%.
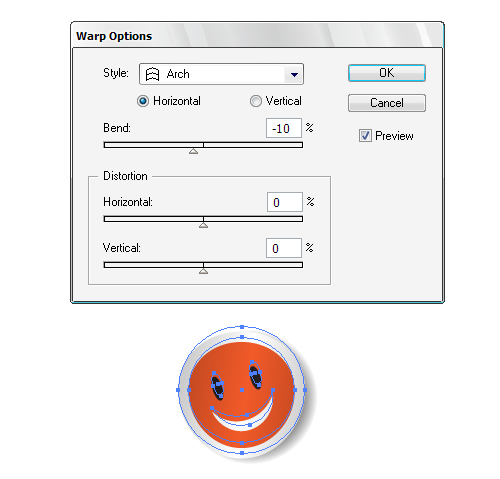
Glue the sticker on the mug :)
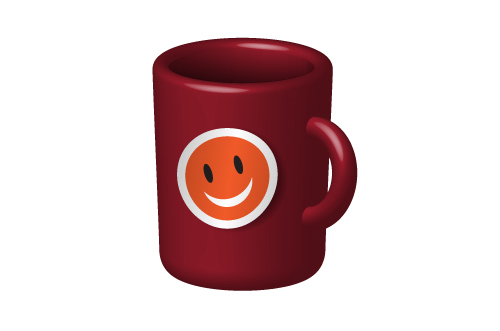
Use the same technique with gradient ellipse for the shadow for the cup.
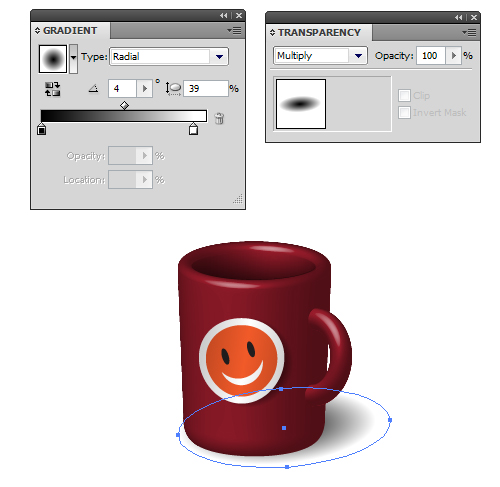
Take the Pen Tool (P) and draw the shape with dark color for the beverage. You can use Opacity for it.
Would you like some tea?
If you like this article, please leave a comment here or share! You may also thank me using referral links → CLICK HERE
You can see all Illustrator tutorials from my blog by the link → CLICK HERE
Create new document (Ctrl+N) with dimensions 500x500 px. Color Mode is RGB. Take the Pen Tool (P) and draw the cup profile.
Use any color for Fill.
Go to the menu Effect > 3D > Revolve. Set the options as in the image below. If you can't see all settings click More Options in the window.
You will get such shape after the effect.
Now we need work with shadow inside the cup. Draw the ellipse with gradient fill.
Go to the Transparency panel and set Multiply blending mode. And you can change the Opacity to 70%.
Next draw the handle. We need little circle for it.
Go to the meny Effect > 3D > Revolve. Set the options. Check Preview to see all transformations on the Artboard.
Now the handle is ready.
Attach it to the mug.
Then you can draw smile sticker using simple shapes.
Turn the face of the smiley to the side slightly. Draw another circle with gradient fill above all. Set the Multiply blending mode and Opacity 20%.
Then create next circle with radial gradient fill. Set the Multiply blending mode for this circle and put it in the bottom Shift+Ctrl+[ .
Now we have the shadow under the sticker.
Select the sticker and go to the menu Effect > Warp > Arch. Set Bend value to -10%.
Glue the sticker on the mug :)
Use the same technique with gradient ellipse for the shadow for the cup.
Take the Pen Tool (P) and draw the shape with dark color for the beverage. You can use Opacity for it.
Would you like some tea?
If you like this article, please leave a comment here or share! You may also thank me using referral links → CLICK HERE
Comments
Post a Comment