In this tutorial you'll learn how to create a security Guilloche ornament. This decorative engraving technique that is typically used in banknote design and other documents to prevent them from being forged. We will use simple trick to create the Guilloche. And you will get intricate ornament fast and easy.
You can find all Illustrator tutorials from my blog here → Ai tutorials

First of all you need to download mirror templates: Magic Wheel or Live Mirror.
There are a lot of AIT files. Open one of them - Live-Mirror-Template-24.
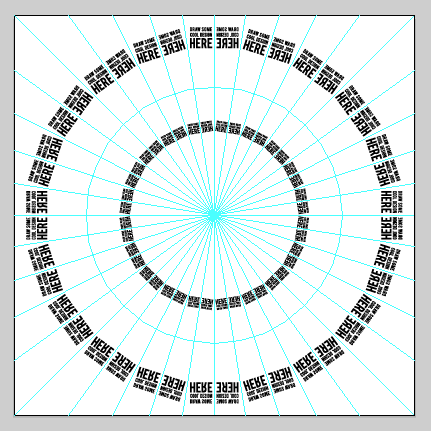
You can see a lot of sectors with sample text. Delete this text and draw something. You will get a copy in each sector. So you should draw a circle in the center for our Guilloche.
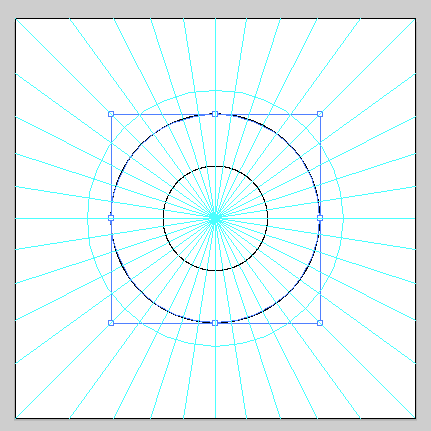
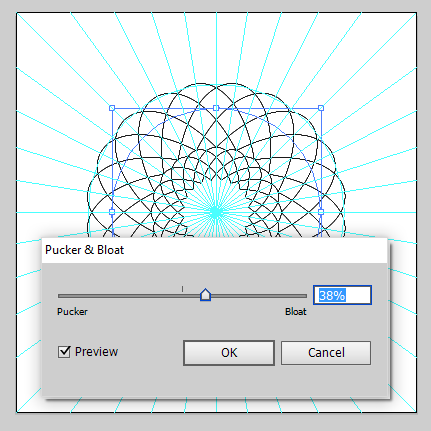
You will get a copy of the smaller circle. Next go to the menu Effect > Distort & Trunsform > Pucker & Bloat. And you will get the circular ornament.
Guilloche is ready! But you can experiment. Move the circle to the side a little bit.
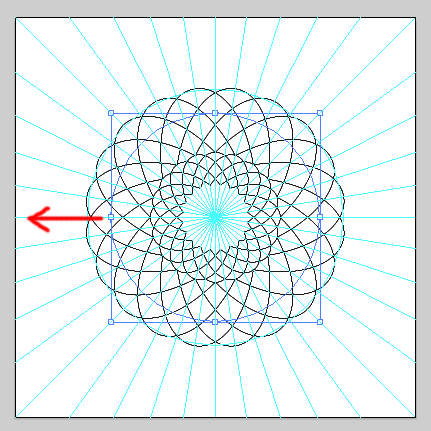
And you can see how the Guilloche changes.

Finally select all (Ctrl+A) and go to the menu Object > Expand Appearance.
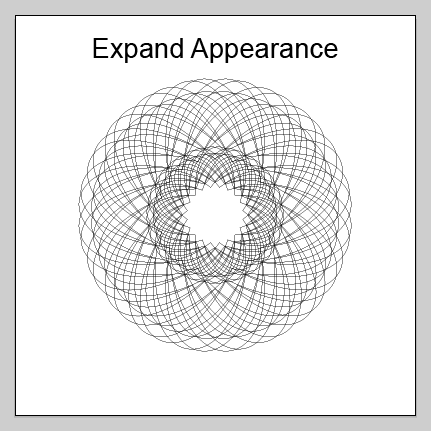
And you can add the Guilloche to your design.
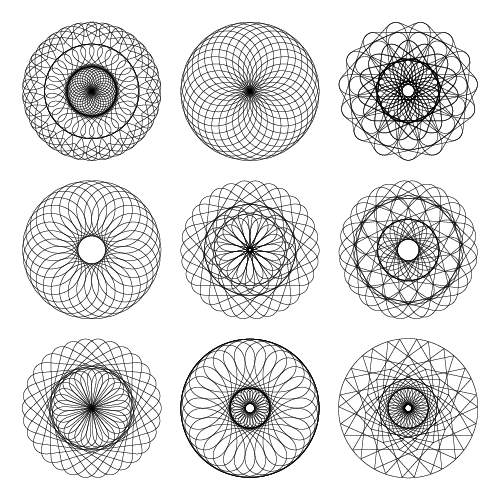
This is a very effective technique. You can quickly and easily make a lot of Guilloches.
If you like this article, please leave a comment here or share! You may also thank me using referral links → CLICK HERE
You can find all Illustrator tutorials from my blog here → Ai tutorials
First of all you need to download mirror templates: Magic Wheel or Live Mirror.
There are a lot of AIT files. Open one of them - Live-Mirror-Template-24.
You can see a lot of sectors with sample text. Delete this text and draw something. You will get a copy in each sector. So you should draw a circle in the center for our Guilloche.
You will get a copy of the smaller circle. Next go to the menu Effect > Distort & Trunsform > Pucker & Bloat. And you will get the circular ornament.
Guilloche is ready! But you can experiment. Move the circle to the side a little bit.
And you can see how the Guilloche changes.
Finally select all (Ctrl+A) and go to the menu Object > Expand Appearance.
And you can add the Guilloche to your design.
This is a very effective technique. You can quickly and easily make a lot of Guilloches.
If you like this article, please leave a comment here or share! You may also thank me using referral links → CLICK HERE
Comments
Post a Comment