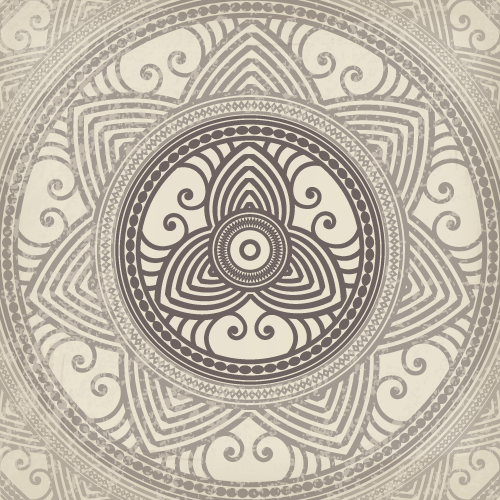
Oriental mandalas and asian design style still seem to be really popular. This mandala design is some intricate but very easy to do. Follow along with today’s Adobe Illustrator tutorial to create a mandala by the Pattern Brush.
You can see all Illustrator tutorials from my blog here → Ai tutorials
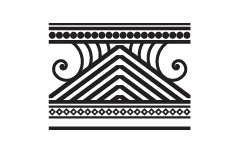
First of all you should draw a segment of the pattern.
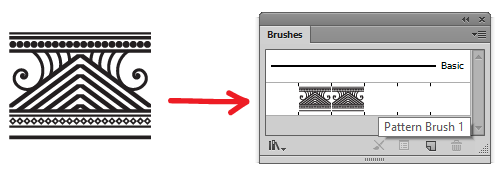
Drag and drop this design to the Brushes panel. Select the Pattern Brush type. Then click the OK button.
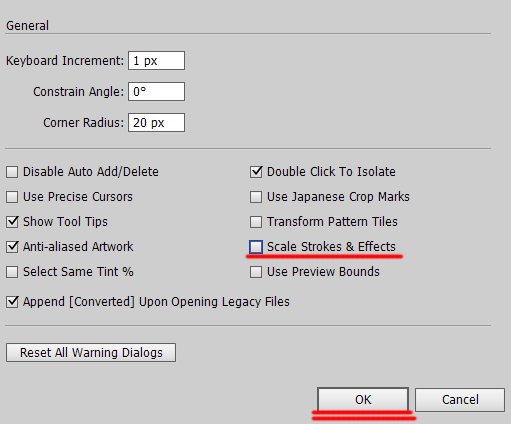
Next you should go to the Preferences (Ctrl+K) and remove Scale Strokes & Effects flag.
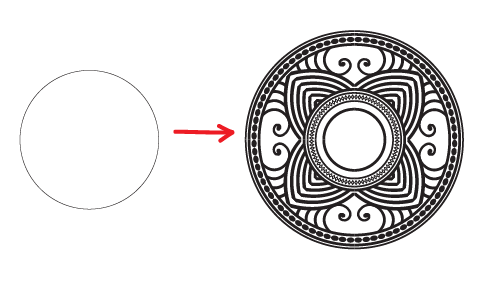
Take the Ellipse Tool (L) and draw a circle. Then select your pattern brush in the Brushes Panel. Mandala is ready!
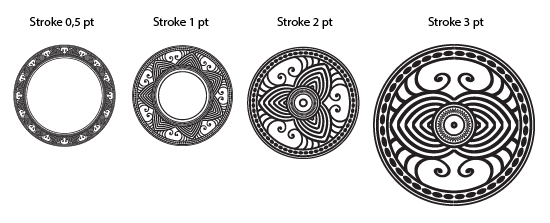
Change the size of the circle to create new mandala variation. Also you can change stroke Weight for similar effect.
Finally add the background in retro style.

If you like this article, please leave a comment here or share! You may also thank me using referral links → CLICK HERE
You can see all Illustrator tutorials from my blog here → Ai tutorials

First of all you should draw a segment of the pattern.

Drag and drop this design to the Brushes panel. Select the Pattern Brush type. Then click the OK button.

Next you should go to the Preferences (Ctrl+K) and remove Scale Strokes & Effects flag.

Take the Ellipse Tool (L) and draw a circle. Then select your pattern brush in the Brushes Panel. Mandala is ready!

Change the size of the circle to create new mandala variation. Also you can change stroke Weight for similar effect.

Finally add the background in retro style.

If you like this article, please leave a comment here or share! You may also thank me using referral links → CLICK HERE
Comments
Post a Comment