This is step by step Illustrator tutorial that teaches you how to draw an owl icon in flat style. We’ll be using different shapes and some vector building techniques. And of course work with colors. Let’s start!

First of all create new document Ctrl+N.
Color Mode - RGB. Dimensions are 500x500 px.
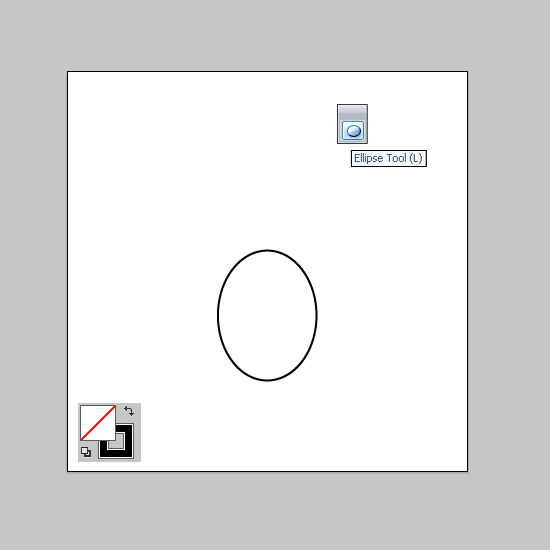
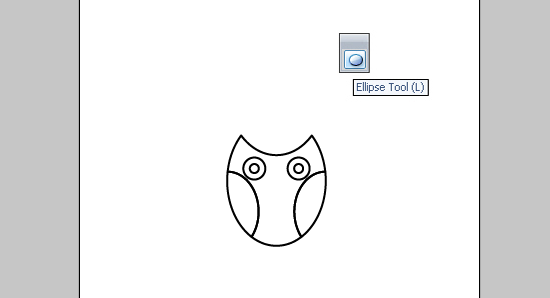
Take the Ellipse Tool (L) and draw an oval. Turn off the Fill. We need only Stroke.
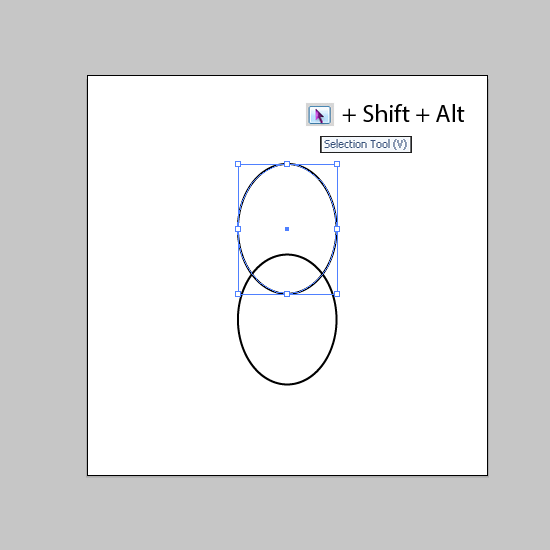
Move the ellipse up by the Selection Tool (V) and hold Shift and Alt. You will get the copy of the ellipse.
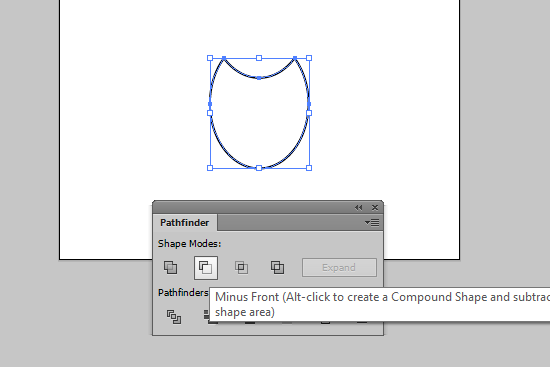
Select all Ctrl+A and click Minus Front in the PathFinder panel to get new shape.
Draw one more ellipse.
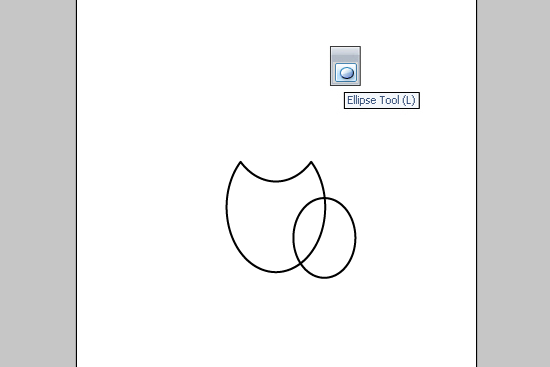
Copy this ellipse to the opposite side. Take the Reflect Tool (O). Hold Alt button and click to the central anchor point. Select Vertical in the options and press the Copy.
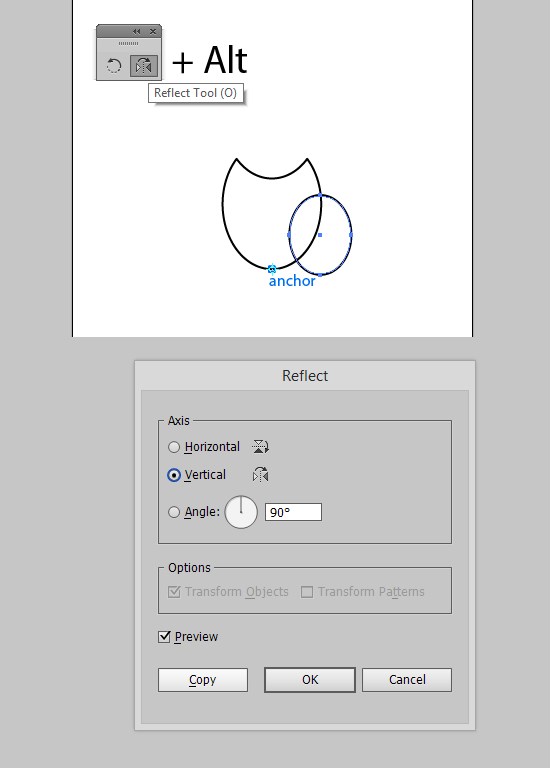
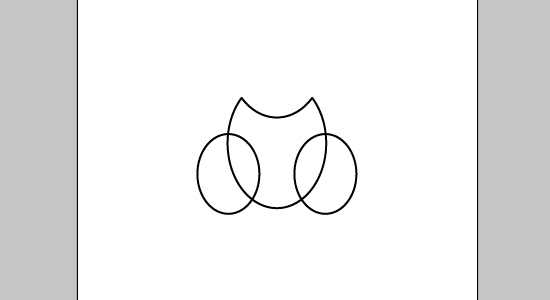
You should get the result as in the picture below.
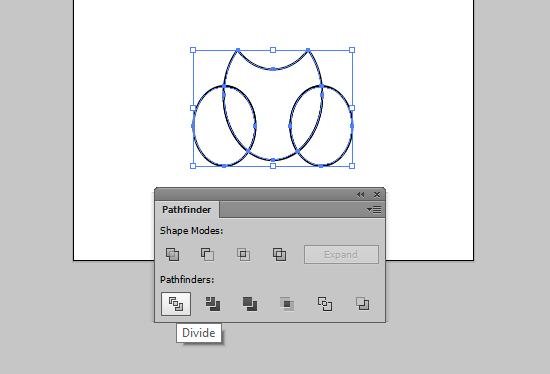
Then select all (Ctrl+A) and click Divide in the PathFinder panel.
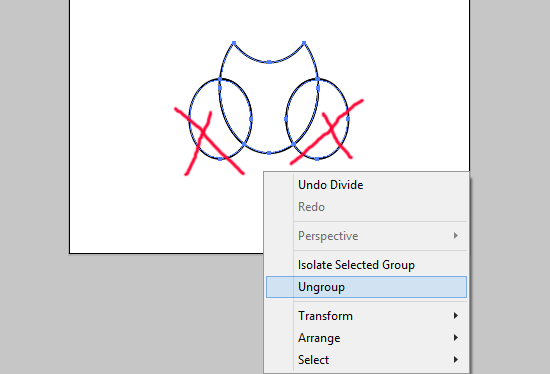
Ungroup all (Shift+Ctrl+G) and delete redundant parts.
Drawing eyes. These are simple circles as you see. You can draw one eye using the Ellipse Tool (L) and copy it to get second eye.
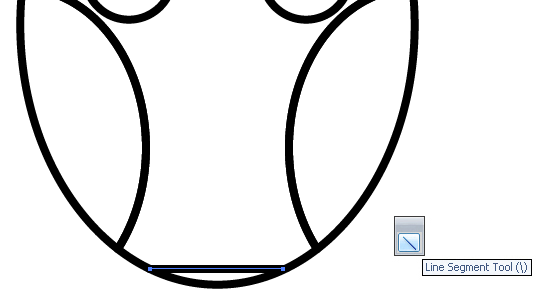
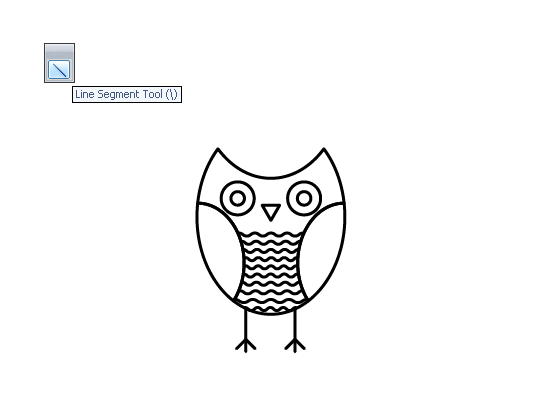
Take the Line Segment Tool (\) and draw the line. Hold the Shift button for a horizontal line.
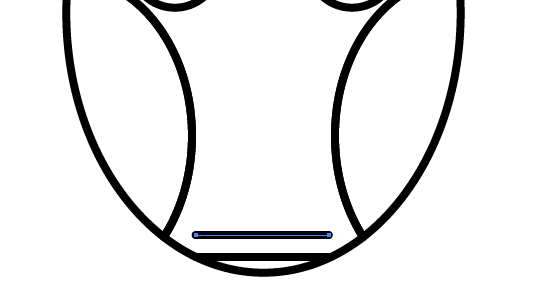
Drag and drop this line by the Selection Tool (V) and hold Shift and Alt to create a copy.
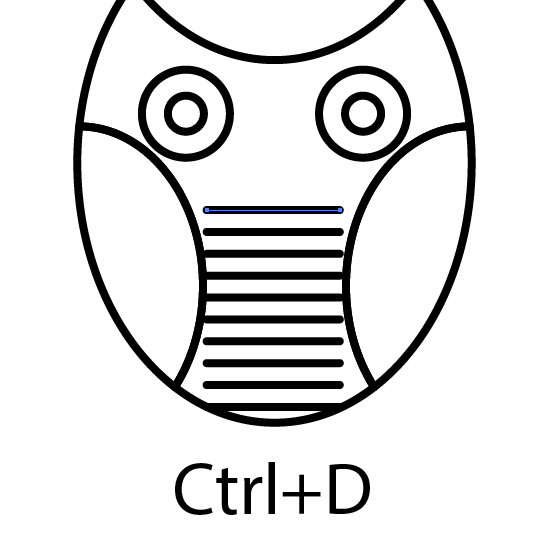
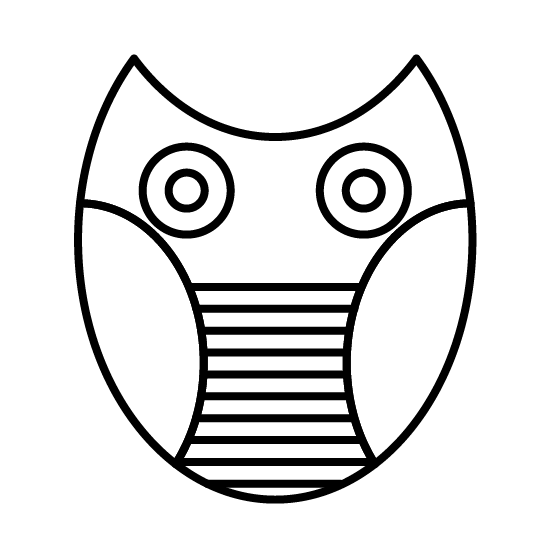
Press Ctrl+D several times to repeat the action. You should get a lot of lines on the belly.
Take the Selection Tool (V) and stretch some lines that are too short.
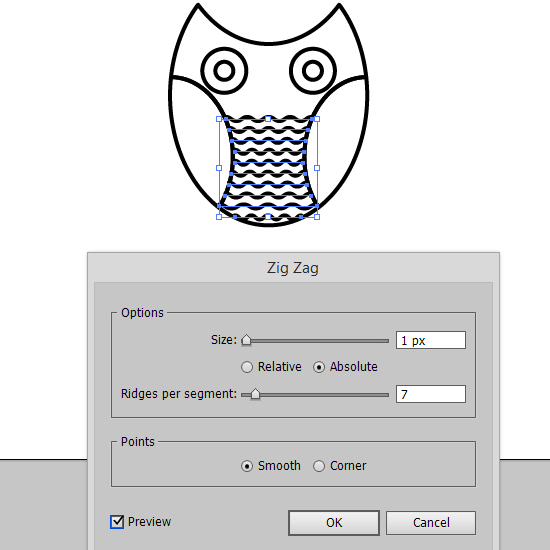
Select all lines and go Effect > Distort and Transform > Zig Zag. Set the options as in the picture and click OK.
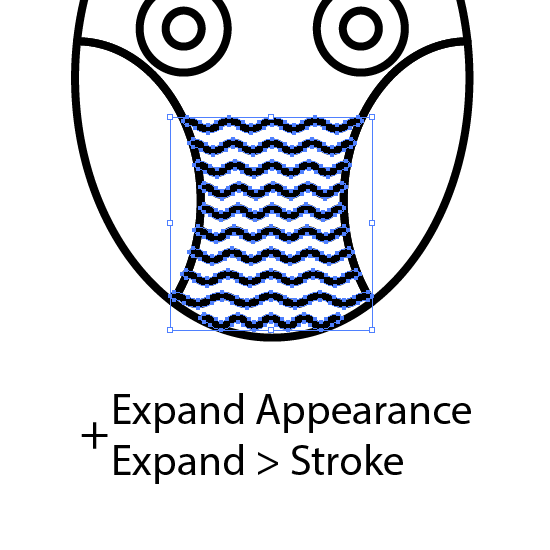
Then go Object > Expand Appearance to expand effect to simple lines. Next Object > Expand to expand the open paths.
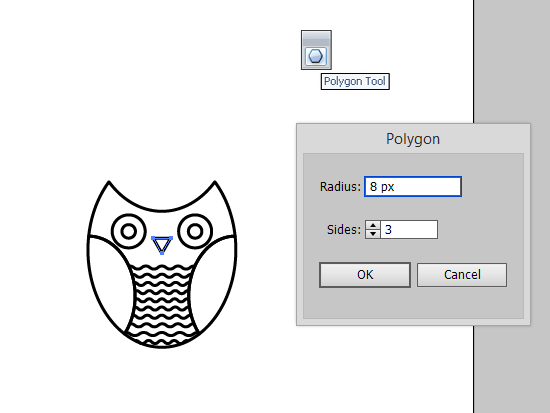
Time to make a beak. Take the Poligon Tool and left click to any place of the Artboard. You will get the options of new shape. We need a triangle so set Radius 8 px and 3 sides.
Draw lines for the owl's legs. Don't forget to go Object > Expand to expand open paths.
Draw the tail. Create the ellipse and send it to back (Shift+Ctrl+[ ).
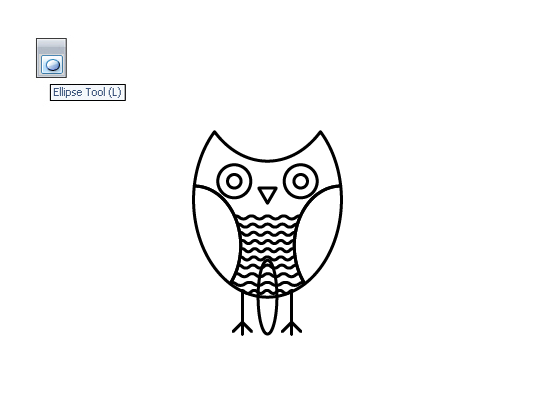
Copy this ellipse. Rotate slightly and reflect to the opposite side using the Reflect Tool (O).
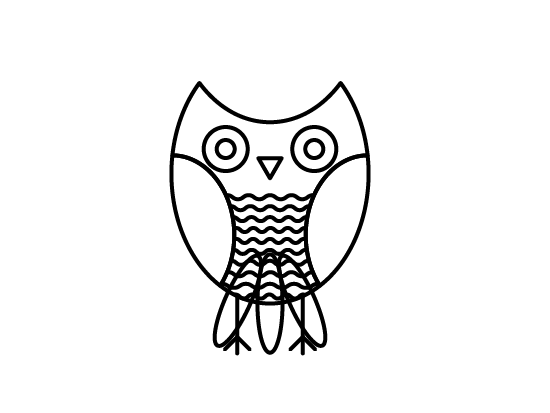
Owl is ready. Working with color in next steps.
Open the Color panel and set any color as you wish. This will be the base color for our owl.

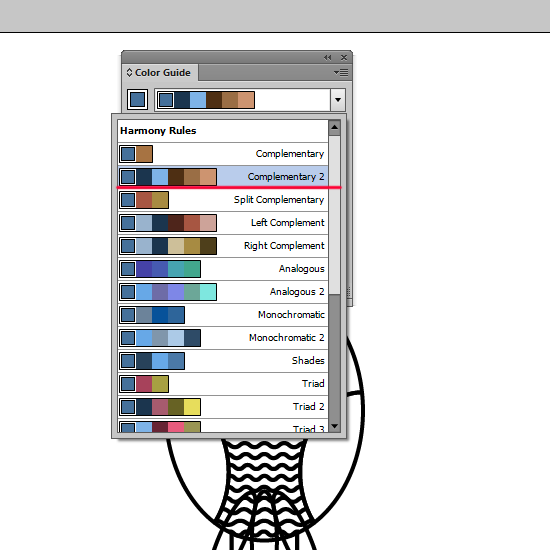
Then open the Color Guide panel (Shift+F3). The base color will be in the left upper square. Colors will be selected automatically in the line on the right.
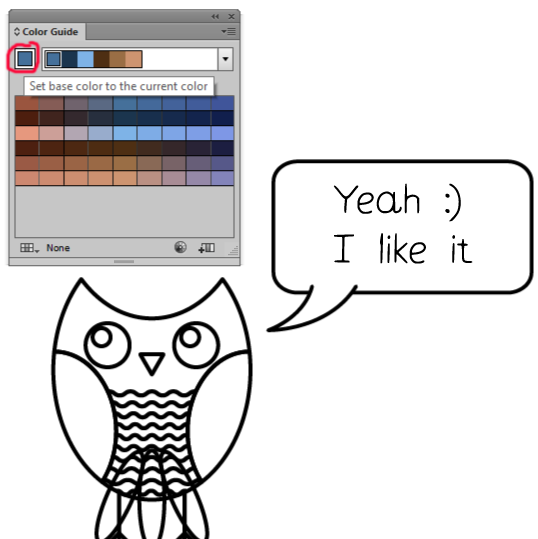
I use Complementary 2 harmonic. You can choose any one in the Color Guide panel. And there are a lot of color samples in the Window > Swatch Libraries.
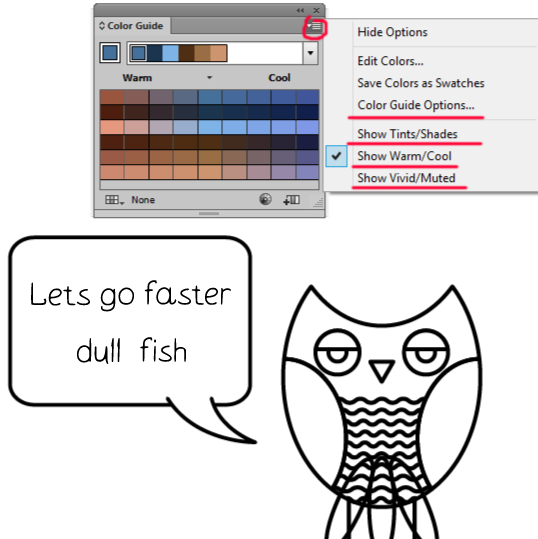
You can set the shades of colors in the Color Guide panel using the options.
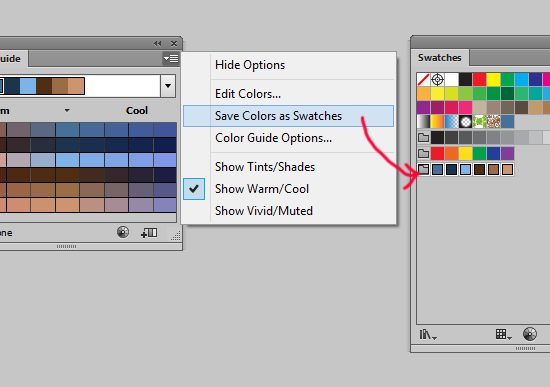
Now you can save colors as Swatches using opions of the Color Guide panel.
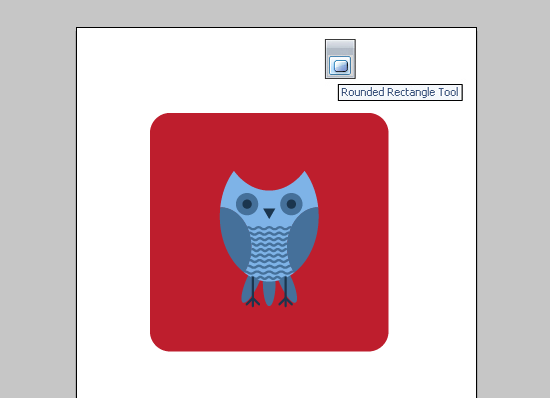
Then paint the owl in these colors. Stroke need to be turned off. Use only Fill.

Take the Rounded Rectangle Tool and left click to any place. Set options:
Width: 240 px
Height: 240 px
Corner Radius: 20 px
The rectangle send to back under the owl. Don't forget to pick up the color for it.
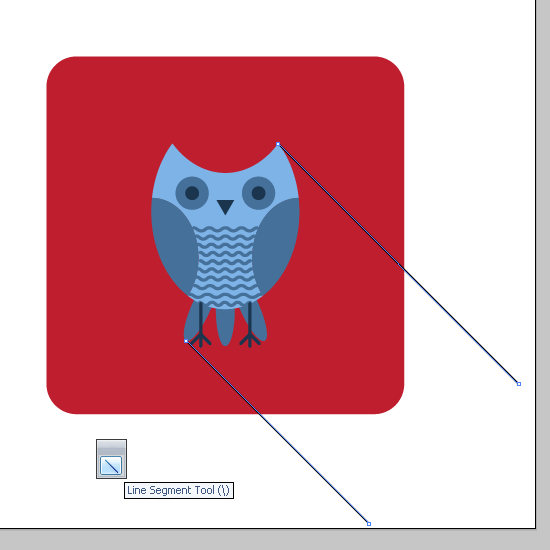
Draw two lines using Line Segment Tool (\). Hold the Shift button while drawing. Use View > Smart Guides for neat result.
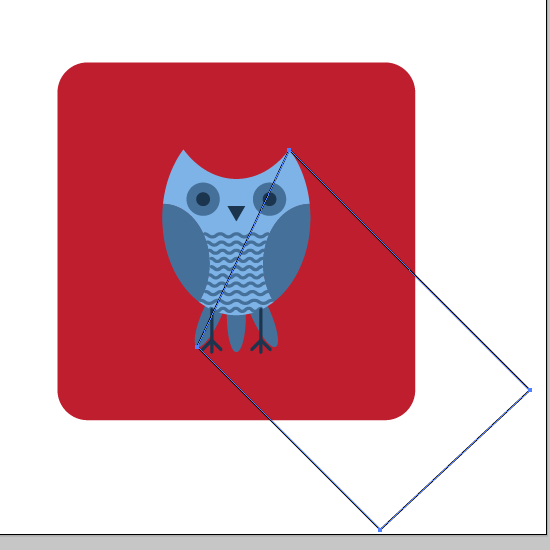
Select these lines and double press Ctrl+J to join the shape. This is a ingot for the shadow.
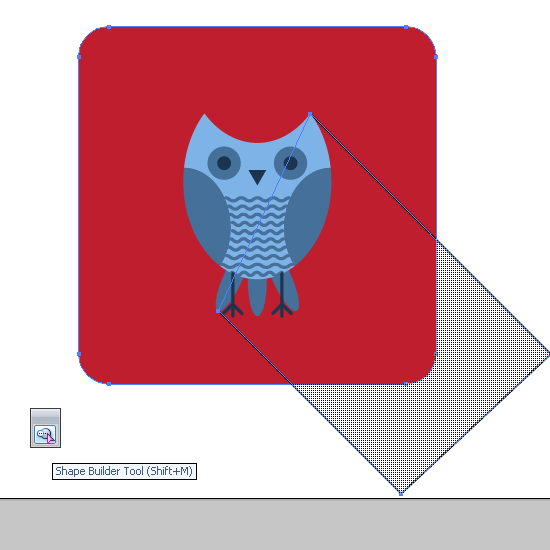
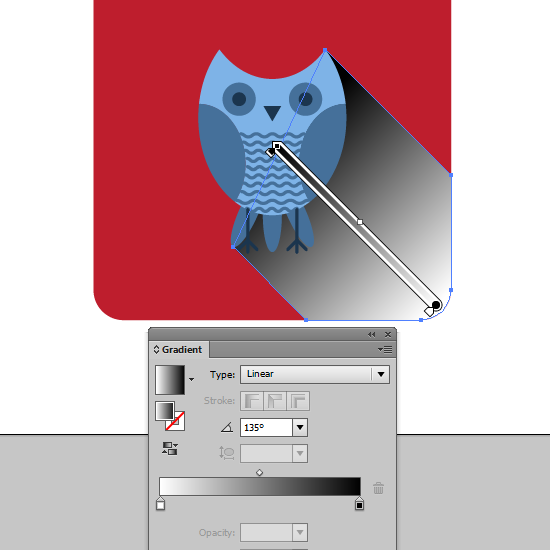
Select the shadow and the rectangle and send all back Shift+Ctrl+[ . Then take the Shape Builder Tool (Shift+M).
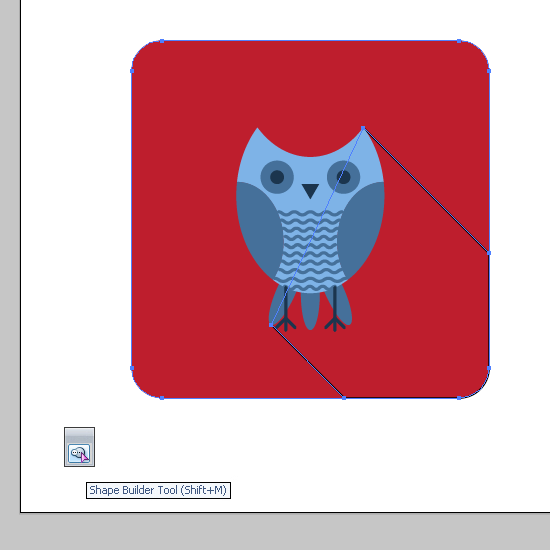
Place the cursor on the protruding part of the shadow. Then hold Alt and left click on it to cut off redundant part.
Turn off the Stroke. Use linear gradient for the Fill.
Finally you should go to the Transparency panel (Shift+Ctrl+F10) and set the Multiply blending mode. Use Opacity 20% also.
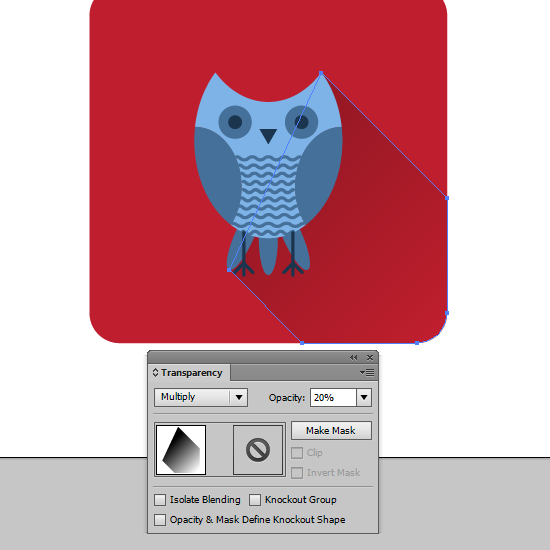
Now our owl can fly :)
If you want to know how to prepare and save such illustrations for microstocks sale see this article: How to Prepare and Save Vector Files for Microstocks.
Do you like this article? Please leave a comment here or share! You may also thank me using referral links → CLICK HERE
First of all create new document Ctrl+N.
Color Mode - RGB. Dimensions are 500x500 px.
Create Basic Shapes
Take the Ellipse Tool (L) and draw an oval. Turn off the Fill. We need only Stroke.
Move the ellipse up by the Selection Tool (V) and hold Shift and Alt. You will get the copy of the ellipse.
Select all Ctrl+A and click Minus Front in the PathFinder panel to get new shape.
Draw one more ellipse.
Copy this ellipse to the opposite side. Take the Reflect Tool (O). Hold Alt button and click to the central anchor point. Select Vertical in the options and press the Copy.
You should get the result as in the picture below.
Then select all (Ctrl+A) and click Divide in the PathFinder panel.
Ungroup all (Shift+Ctrl+G) and delete redundant parts.
Drawing eyes. These are simple circles as you see. You can draw one eye using the Ellipse Tool (L) and copy it to get second eye.
Take the Line Segment Tool (\) and draw the line. Hold the Shift button for a horizontal line.
Drag and drop this line by the Selection Tool (V) and hold Shift and Alt to create a copy.
Press Ctrl+D several times to repeat the action. You should get a lot of lines on the belly.
Take the Selection Tool (V) and stretch some lines that are too short.
Select all lines and go Effect > Distort and Transform > Zig Zag. Set the options as in the picture and click OK.
Then go Object > Expand Appearance to expand effect to simple lines. Next Object > Expand to expand the open paths.
Time to make a beak. Take the Poligon Tool and left click to any place of the Artboard. You will get the options of new shape. We need a triangle so set Radius 8 px and 3 sides.
Draw lines for the owl's legs. Don't forget to go Object > Expand to expand open paths.
Draw the tail. Create the ellipse and send it to back (Shift+Ctrl+[ ).
Copy this ellipse. Rotate slightly and reflect to the opposite side using the Reflect Tool (O).
Owl is ready. Working with color in next steps.
Colorizing
Open the Color panel and set any color as you wish. This will be the base color for our owl.
Then open the Color Guide panel (Shift+F3). The base color will be in the left upper square. Colors will be selected automatically in the line on the right.
I use Complementary 2 harmonic. You can choose any one in the Color Guide panel. And there are a lot of color samples in the Window > Swatch Libraries.
You can set the shades of colors in the Color Guide panel using the options.
Now you can save colors as Swatches using opions of the Color Guide panel.
Then paint the owl in these colors. Stroke need to be turned off. Use only Fill.
Background and Shadow
Take the Rounded Rectangle Tool and left click to any place. Set options:
Width: 240 px
Height: 240 px
Corner Radius: 20 px
The rectangle send to back under the owl. Don't forget to pick up the color for it.
Draw two lines using Line Segment Tool (\). Hold the Shift button while drawing. Use View > Smart Guides for neat result.
Select these lines and double press Ctrl+J to join the shape. This is a ingot for the shadow.
Select the shadow and the rectangle and send all back Shift+Ctrl+[ . Then take the Shape Builder Tool (Shift+M).
Place the cursor on the protruding part of the shadow. Then hold Alt and left click on it to cut off redundant part.
Turn off the Stroke. Use linear gradient for the Fill.
Finally you should go to the Transparency panel (Shift+Ctrl+F10) and set the Multiply blending mode. Use Opacity 20% also.
Now our owl can fly :)
If you want to know how to prepare and save such illustrations for microstocks sale see this article: How to Prepare and Save Vector Files for Microstocks.
Do you like this article? Please leave a comment here or share! You may also thank me using referral links → CLICK HERE
What's up to every one, it's truly a pleasant for me to go to see this web page, it consists of priceless
ReplyDeleteInformation.
Aw, this was an extremely nice post. Taking a few minutes
ReplyDeleteand actual effort to make a very good article… but what can I say… I
hesitate a lot and never seem to get nearly anything done.
Greetings! Very helpful advice in this particular article!
ReplyDeleteIt is the little changes which will make the most significant changes.
Thanks for sharing!
Oh my goodness! Impressive article dude! Many thanks, However I am experiencing issues with your RSS.
ReplyDeleteI don’t know the reason why I cannot join it. Is there anybody having
identical RSS issues? Anyone that knows the solution can you kindly respond?
Thanks!!
You need to be a part of a contest for one of the greatest
ReplyDeleteblogs on the internet. I most certainly will recommend this web site!
Hello! I could have sworn I’ve visited this blog before but after browsing through some of the posts I
ReplyDeleterealized it’s new to me. Nonetheless, I’m definitely happy I found it and I’ll be book-marking it and checking back frequently!
Everything is very open with a very clear explanation of the challenges.
ReplyDeleteIt was definitely informative. Your site is useful. Many thanks for sharing!
Greetings! Very useful advice in this particular
ReplyDeletepost! It's the little changes that make the most important changes.
Many thanks for sharing!
I blog frequently and I really appreciate your content. This article has truly peaked my
ReplyDeleteinterest. I will bookmark your site and keep checking for new details about once
a week. I opted in for your Feed as well.
Your style is so unique compared to other people I have read
ReplyDeletestuff from. Thanks for posting when you
have the opportunity, Guess I'll just bookmark this web site.
There's certainly a lot to learn about this topic.
ReplyDeleteI love all the points you have made.
Hi, I do think this is an excellent website. I stumbledupon it ;) I will return once again since i have book-marked it.
ReplyDeleteMoney and freedom is the greatest way to change, may you be rich and continue to
help other people.