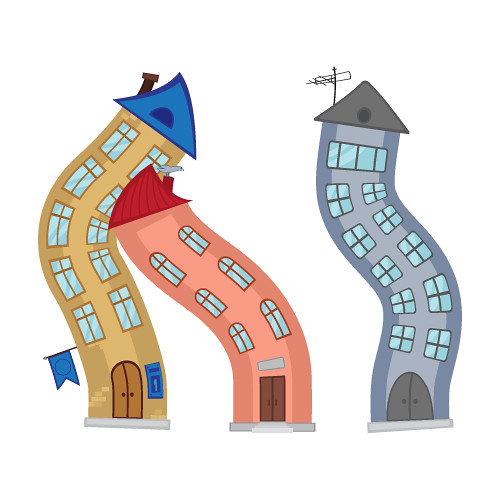
Hello! In this tutorial, I’ll show you how to create dancing houses by brushes in Adobe Illustrator. The final of this tutorial will be funny summer illustration. Funky music picture for some party or other events :)
You can find all Illustrator tutorials from my blog using this link → CLICK HERE

Let's build several houses first. You can use basic shapes for this. Triangles, rectangles and others.

Three houses are enough. But you can create much more using such technique.

Then add colour to your houses. It will be great to create some cute details as a little bird on the roof.

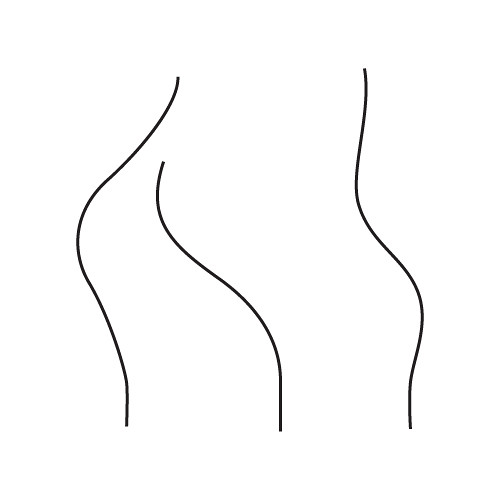
Houses are ready! Now select one of them and drag and drop to the Brushes panel. Choose Art Brush type. Convert other houses into brushes the same way. Finally draw three curved lines. You can use Pen Tool (P) for this.

And apply new brushes to these lines. You will get dancing houses. Magic :)

You can use Width Tool (Shift+W) to make the roofs of the houses wide. Take the Width Tool (Shift+W) and pull the path in the side to add widths.

Don't forget to select brushes and go to Object > Expand Appearance. You can add a background and some details as you wish.

If you like this article, please leave a comment here or share! You may also thank me using referral links → CLICK HERE
You can find all Illustrator tutorials from my blog using this link → CLICK HERE

Let's build several houses first. You can use basic shapes for this. Triangles, rectangles and others.

Three houses are enough. But you can create much more using such technique.

Then add colour to your houses. It will be great to create some cute details as a little bird on the roof.

Houses are ready! Now select one of them and drag and drop to the Brushes panel. Choose Art Brush type. Convert other houses into brushes the same way. Finally draw three curved lines. You can use Pen Tool (P) for this.

And apply new brushes to these lines. You will get dancing houses. Magic :)

You can use Width Tool (Shift+W) to make the roofs of the houses wide. Take the Width Tool (Shift+W) and pull the path in the side to add widths.

Don't forget to select brushes and go to Object > Expand Appearance. You can add a background and some details as you wish.

If you like this article, please leave a comment here or share! You may also thank me using referral links → CLICK HERE
Its not my first time to go to see this site, i am browsing this web
ReplyDeletepage dailly and obtain nice information from here every day.