There are many ways to make a blurred background in Adobe Photoshop. But this will be a bitmap image. So we should use Adobe Illustrator to get 100% vector picture. Raster effects are not allowed too. You will learn all the secrets of the blurred background in Adobe Illustrator from this tutorial.

I'll show you 4 ways to make a blurred background in Adobe Illustrator. The final image will not contain any raster effects or parts. 100% vector illustration. So you can sell such illustrations on Shutterstock or other microstocks.
Let's go!
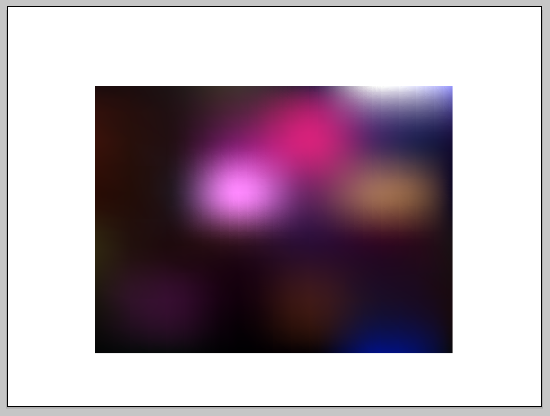
First of all you need a source file for your blurred background. You can use a photo for example.
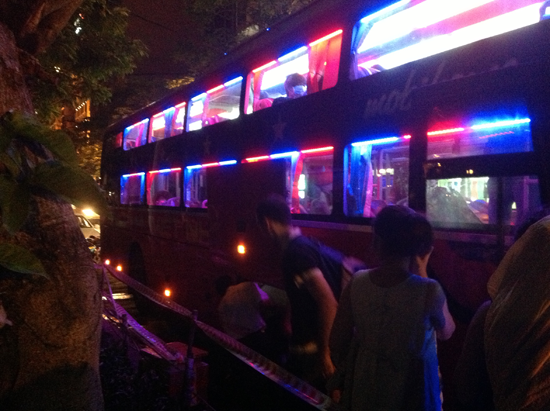
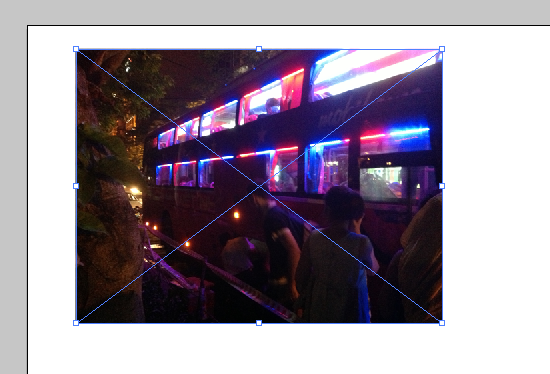
I took the photo from my India journey. Drag and drop your photo to the Illustrator window. You can use Illustrator menu File > Place too.
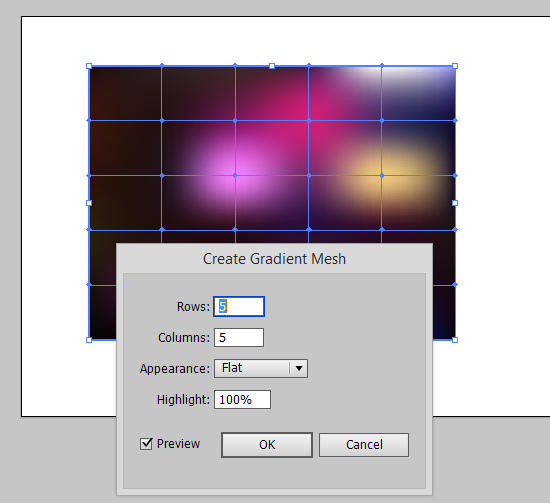
Select the photo and go Object > Create Gradient Mesh. Set checkbox Preview and settings for Rows and Columns.
You should click OK button finally. And get the gradient mesh instead the photo.
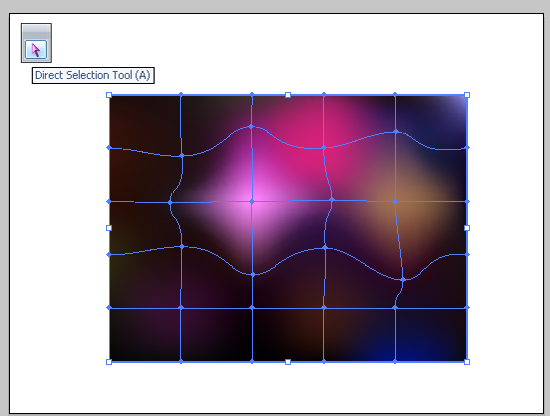
This is our vector blurred background. You can edit some nodes of the gradient mesh to make the background better. Use the Direct Selection Tool (A) for this.
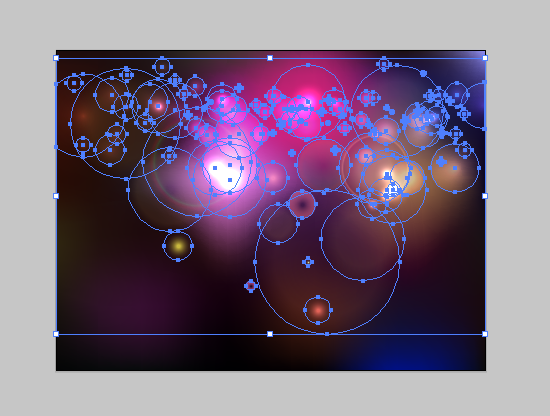
Then fit the mesh to the size of the artboard. Add some sparklings. There are circles with Color Dodge and Screen blending mode and radial gradient fill.
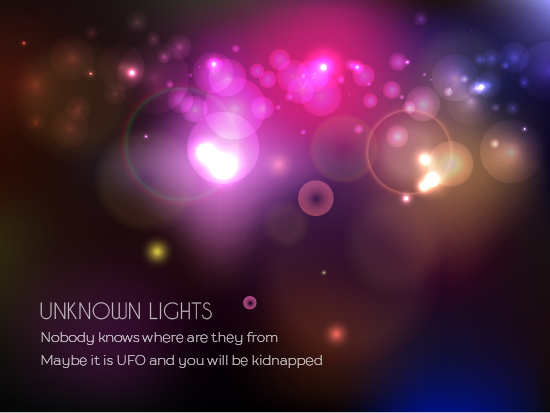
You can type any text finally.
Blurred background is ready :)

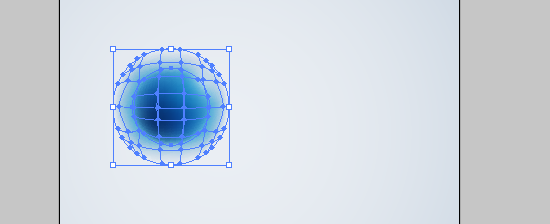
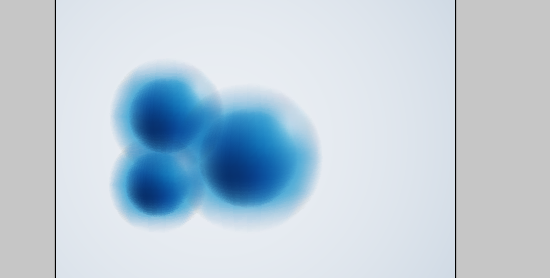
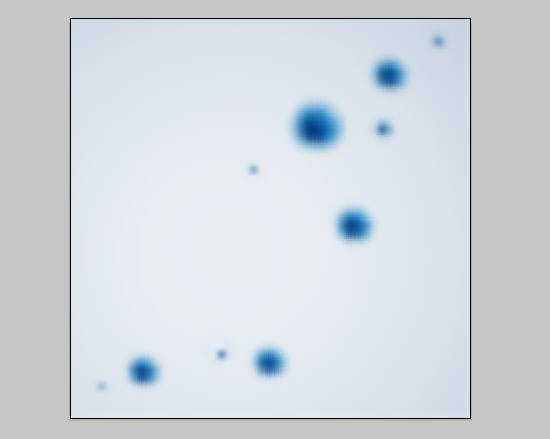
Second way to create vector blurred background is the same. But we create dense gradient mesh for it. First of all we should create any object. This is my molecule.
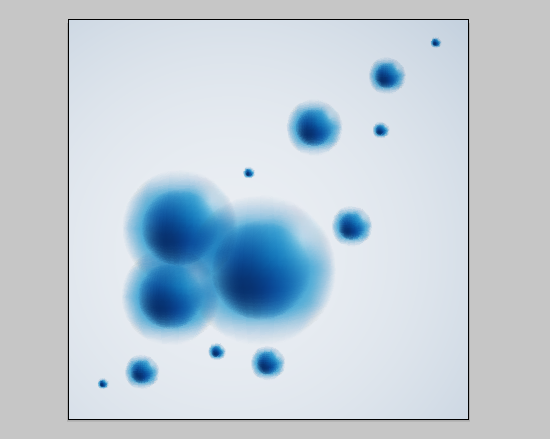
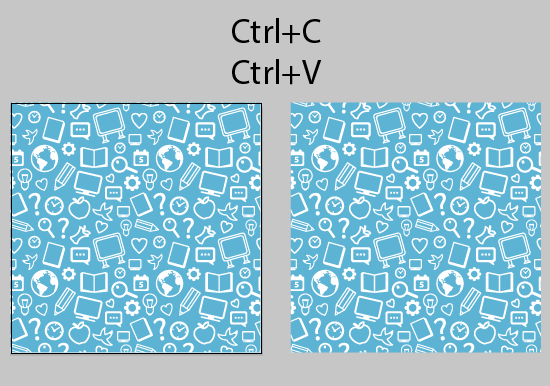
Then make two copies of the molecule (Ctrl+C, Ctrl+V). I set the blending mode Multiply for transparent edges.
Make more copies of the molecules. You can create several layers if you need.
Then turn off the layer with large molecules (Toggles Visibility icon in the Layers panel).
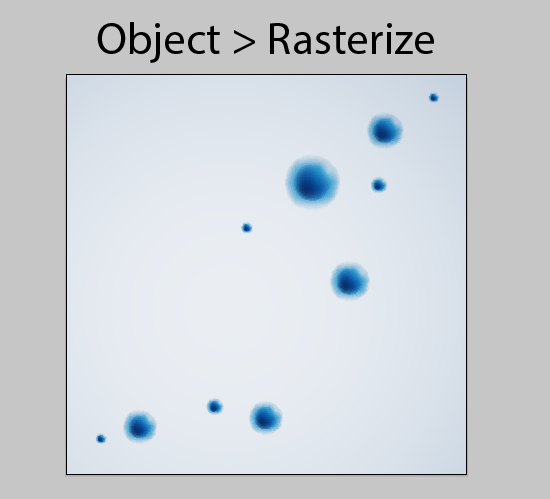
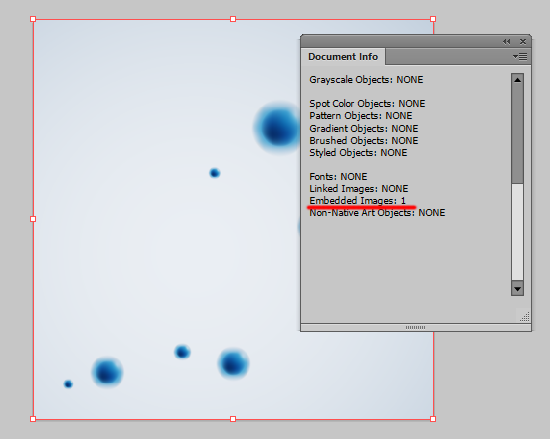
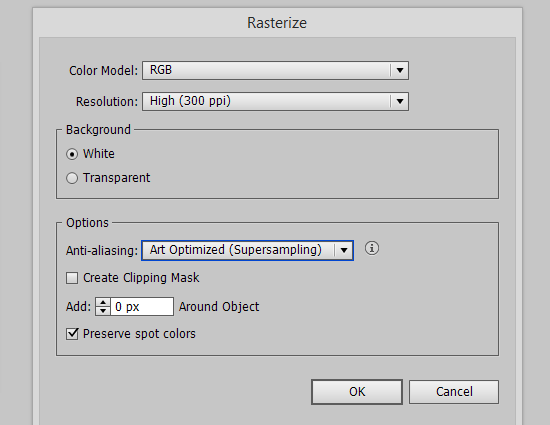
Select small molecules and background and go to Illustrator menu Object > Rasterize. You can see my settings on the picture below.
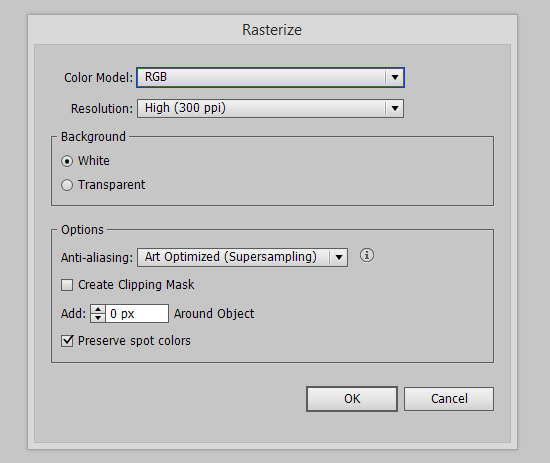
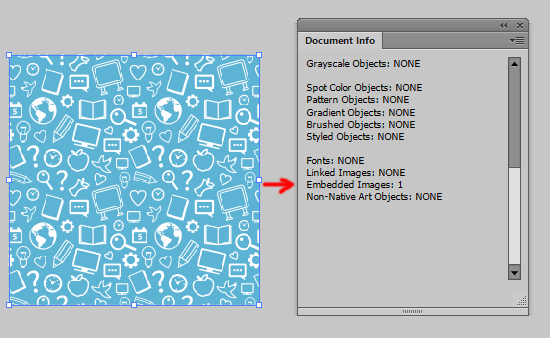
Click the OK button to convert vector objects to bitmap.
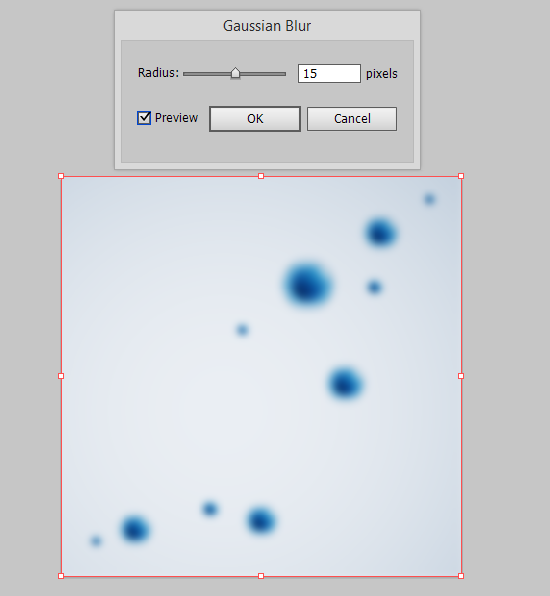
Select this raster background and go Effect > Blur > Guassian Blur. Click OK button to apply effect.
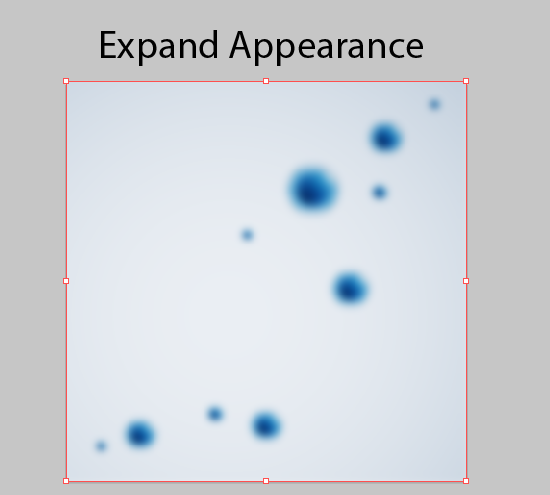
Then go to Illustrator menu Object > Expand Appearance.
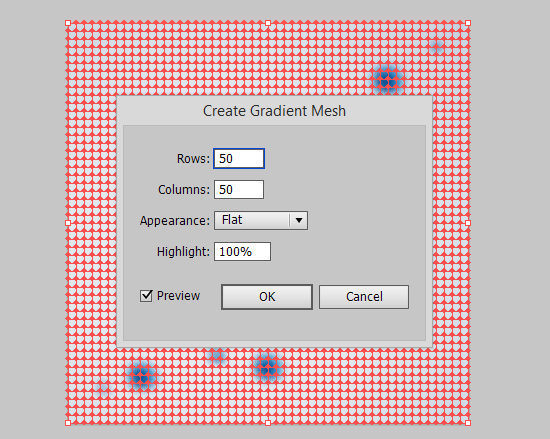
It's time to get rid of the raster. Select blurred bitmap background and go Object > Create Gradient Mesh. Set 50 Rows and Columns. This is the maximum value.
And we get vector blurred background.
Turn on the layer with large molecules and add text.
Are you ready for the next method? :)
And there will be rock and roll now! But we need the MeshTormentor plugin for Adobe Illustrator. You can free download it here: meshtormentor.com
Then open any vector illustration. Make copy of all objects.
Select this copy and go Object > Rasterize.
Click OK button. We have the raster copy now.
Select bitmap image and Effect > Blur > Guassian Blur. Don't forget make Expand Appearance after that.

Draw a rectangle in the center.
Turn it to mesh using Object > Create Gradient Mesh. Rows and Columns - 50.
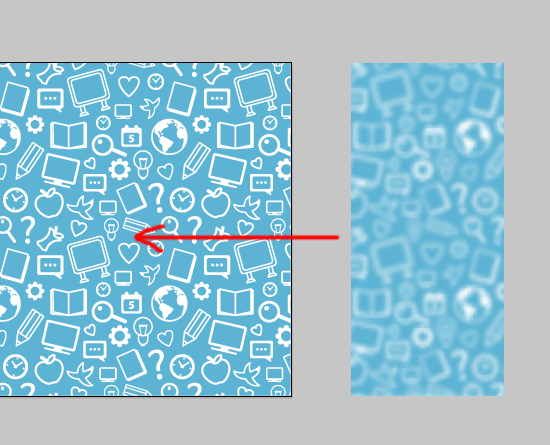
Select the mesh rectangle and open MeshTormentor plugin. Click the Increase mesh density button.
Next select the mesh rectangle and the raster background and click the button with Mona Lisa icon.
MeshTormentor copies all colors to the mesh rectangle. Perfect result.

Now you can delete raster background. Then move the mesh rectangle to the illustration.
Use Align panel for centering.
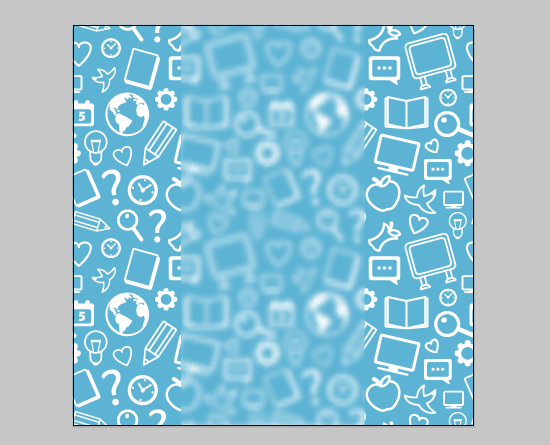
Next you can add white transparent rectangle from above. And linear gradient with Multiply blending mode for shadows. Don't forget about text.
Now the last method. It's easy :)

Really you can make Image Trace (Autotrace) of blurred raster image to get vector illustration. Unfortunately this method does not accept Shutterstock if you want sell vector images. But we will consider it.
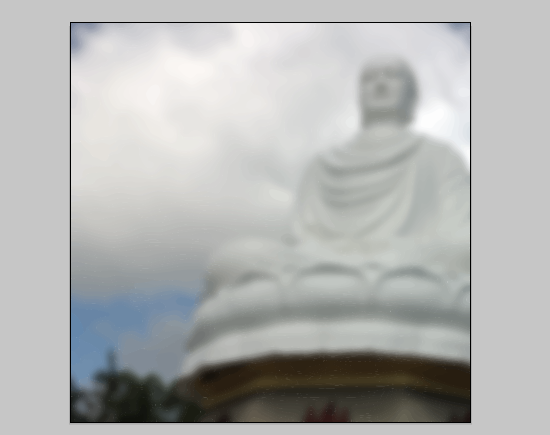
Take any raster image. Some photo for example.
Drag and drop to the Illustrator and use Guassian Blur. Don't forget about Expand Appearance.
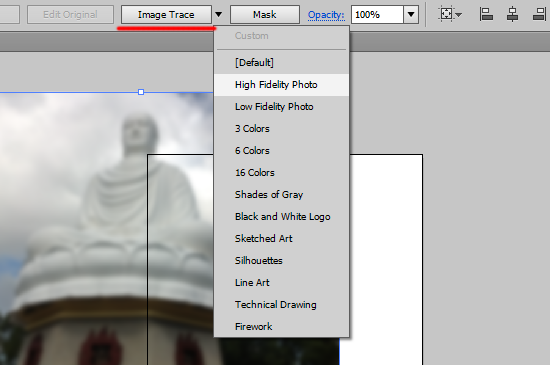
Then make Image Trace (Autotrace). Select a template with the highest quality.
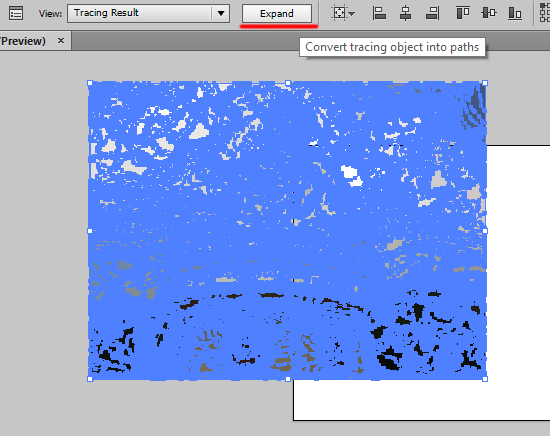
Click the Expand button. Now we have vector shapes on the Artboard.
Center the illustration.
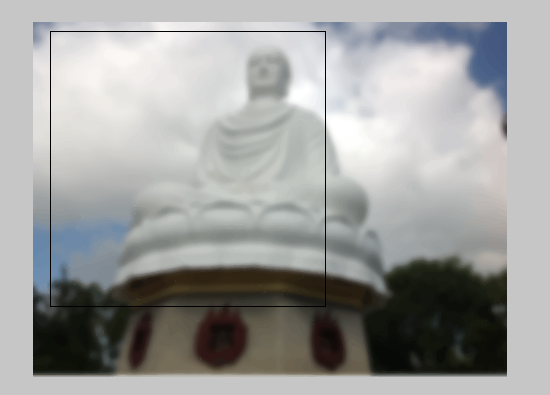
The protruding parts can be covered with a mask. You can use Super Magic Eraser script for cropping also.
Add some text :)
The tutorial is over.
If you like it, please leave a comment here or share to SNS! You may also thank me using referral links -> CLICK HERE
I'll show you 4 ways to make a blurred background in Adobe Illustrator. The final image will not contain any raster effects or parts. 100% vector illustration. So you can sell such illustrations on Shutterstock or other microstocks.
Let's go!
1. Using Mesh to Create Blurred Background
First of all you need a source file for your blurred background. You can use a photo for example.
I took the photo from my India journey. Drag and drop your photo to the Illustrator window. You can use Illustrator menu File > Place too.
Select the photo and go Object > Create Gradient Mesh. Set checkbox Preview and settings for Rows and Columns.
You should click OK button finally. And get the gradient mesh instead the photo.
This is our vector blurred background. You can edit some nodes of the gradient mesh to make the background better. Use the Direct Selection Tool (A) for this.
Then fit the mesh to the size of the artboard. Add some sparklings. There are circles with Color Dodge and Screen blending mode and radial gradient fill.
You can type any text finally.
Blurred background is ready :)
2. Using Dense Mesh to Create Blurred Background
Second way to create vector blurred background is the same. But we create dense gradient mesh for it. First of all we should create any object. This is my molecule.
Then make two copies of the molecule (Ctrl+C, Ctrl+V). I set the blending mode Multiply for transparent edges.
Make more copies of the molecules. You can create several layers if you need.
Then turn off the layer with large molecules (Toggles Visibility icon in the Layers panel).
Select small molecules and background and go to Illustrator menu Object > Rasterize. You can see my settings on the picture below.
Click the OK button to convert vector objects to bitmap.
Select this raster background and go Effect > Blur > Guassian Blur. Click OK button to apply effect.
Then go to Illustrator menu Object > Expand Appearance.
It's time to get rid of the raster. Select blurred bitmap background and go Object > Create Gradient Mesh. Set 50 Rows and Columns. This is the maximum value.
And we get vector blurred background.
Turn on the layer with large molecules and add text.
Are you ready for the next method? :)
3. Using MeshTormentor Plugin to Create Blurred Background
And there will be rock and roll now! But we need the MeshTormentor plugin for Adobe Illustrator. You can free download it here: meshtormentor.com
Then open any vector illustration. Make copy of all objects.
Select this copy and go Object > Rasterize.
Click OK button. We have the raster copy now.
Select bitmap image and Effect > Blur > Guassian Blur. Don't forget make Expand Appearance after that.
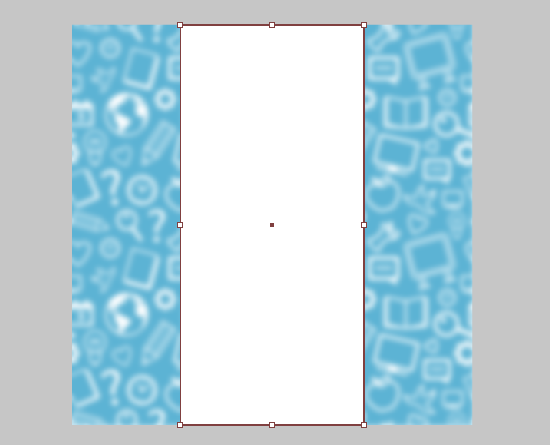
Draw a rectangle in the center.
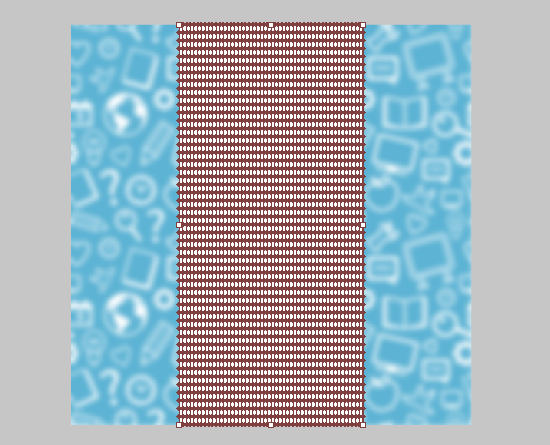
Turn it to mesh using Object > Create Gradient Mesh. Rows and Columns - 50.
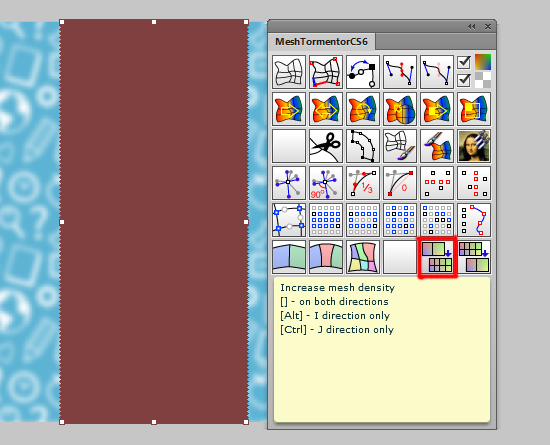
Select the mesh rectangle and open MeshTormentor plugin. Click the Increase mesh density button.
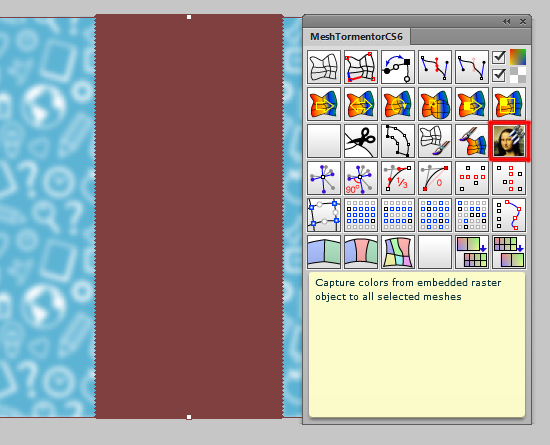
Next select the mesh rectangle and the raster background and click the button with Mona Lisa icon.
MeshTormentor copies all colors to the mesh rectangle. Perfect result.
Now you can delete raster background. Then move the mesh rectangle to the illustration.
Use Align panel for centering.
Next you can add white transparent rectangle from above. And linear gradient with Multiply blending mode for shadows. Don't forget about text.
Now the last method. It's easy :)
4. Using Image Trace to Create Blurred Background
Really you can make Image Trace (Autotrace) of blurred raster image to get vector illustration. Unfortunately this method does not accept Shutterstock if you want sell vector images. But we will consider it.
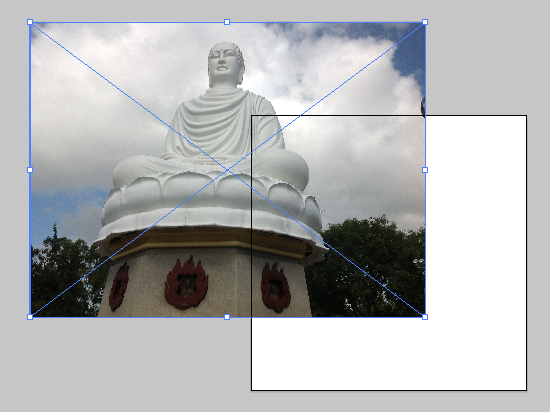
Take any raster image. Some photo for example.
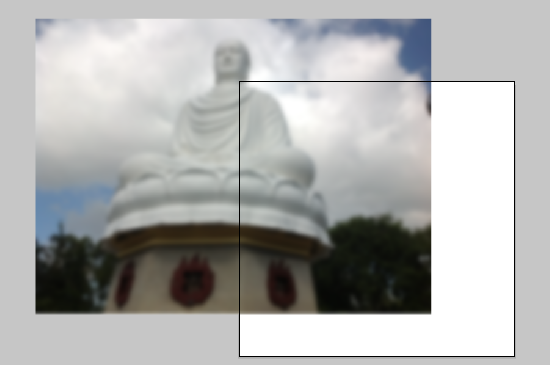
Drag and drop to the Illustrator and use Guassian Blur. Don't forget about Expand Appearance.
Then make Image Trace (Autotrace). Select a template with the highest quality.
Click the Expand button. Now we have vector shapes on the Artboard.
Center the illustration.
The protruding parts can be covered with a mask. You can use Super Magic Eraser script for cropping also.
Add some text :)
The tutorial is over.
If you like it, please leave a comment here or share to SNS! You may also thank me using referral links -> CLICK HERE
Great tutorial
ReplyDeleteThanks )
let's try
ReplyDeleteThank you very much
Wonderful beat ! I would ljke to apprentice even as you amend youjr web site, how could i subscribe for a blog
ReplyDeletesite? The account helped me a applicable deal. I have been tiny
bit familiar of this your broadcast offered bright transparent concept